Hadoop
The Hadoop business entity allows you to create and manage the Hadoop files. Hadoop is used to handle large Hadoop file systems.
You can create Hadoop entity based on the requirements in the management section and then associate them with the platform based on the business requirement.
You can also make the default DMS as the Hadoop File System for process flows.
Viewing Hadoop
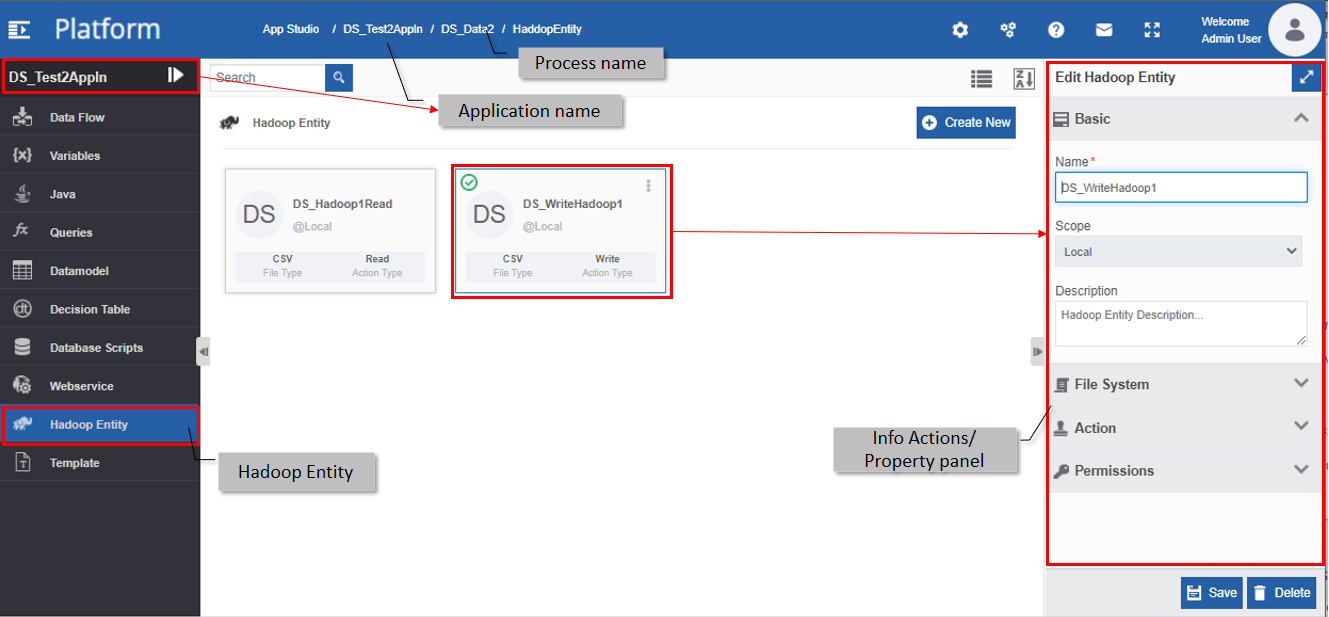
The Hadoop entities associated with each data flow will appear within that flow.
- Go to Main Menu > App Studio > Applications > open [Application_Name] > Data Flow > open [Data_Flow_Name].
-
Click Hadoop Entity on the left side panel for viewing the Hadoop entities for the flow module.
Creating New Hadoop
Prerequisites:
Hadoop – Management > Configuration Management > Hadoop
- If you create Hadoop entity with configuration Action Type = Write, you can map it in the data flow activities.
- If you create Hadoop entity with configuration Action Type = Read, you can map it in the business entity, datamodel.
To create a Hadoop entity:
- Go to Main Menu > App Studio > Applications > open [Application_Name] > Data Flow > open [Data_Flow_Name].
-
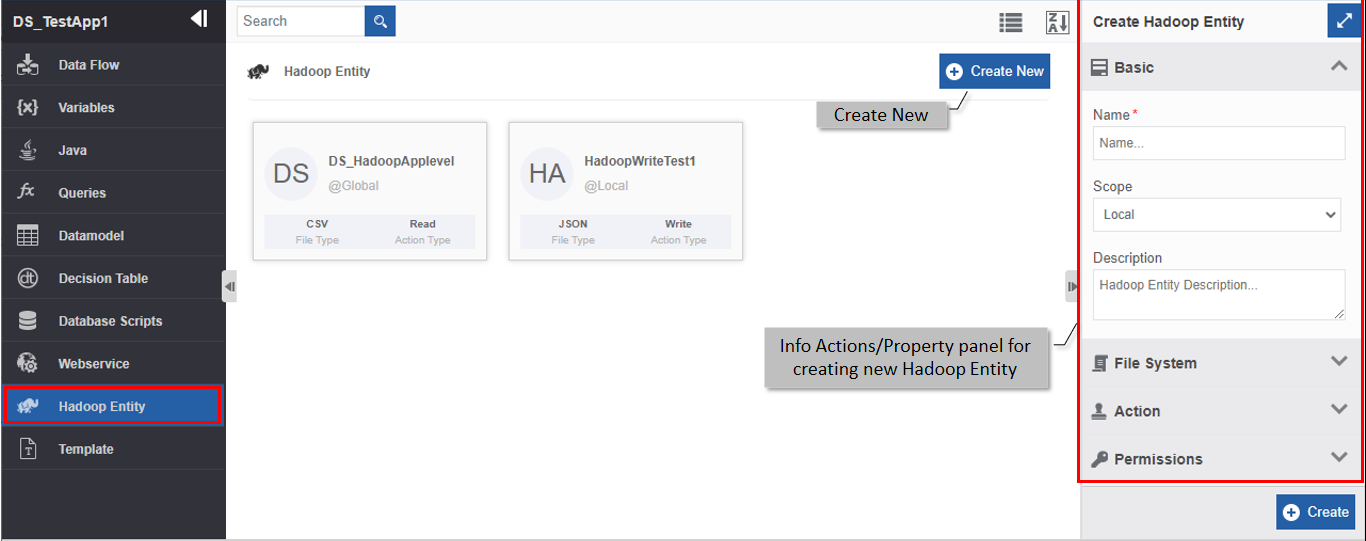
Select Hadoop Entity. The Hadoop list appears.
-
Click +Create New. The Info Actions panel appears as Create Hadoop Entity.
-
Enter the Basic details in the Create Hadoop Entity panel as explained below.
Field Description Basic Name* Enter the name of the Hadoop entity.
Character limit: 50.
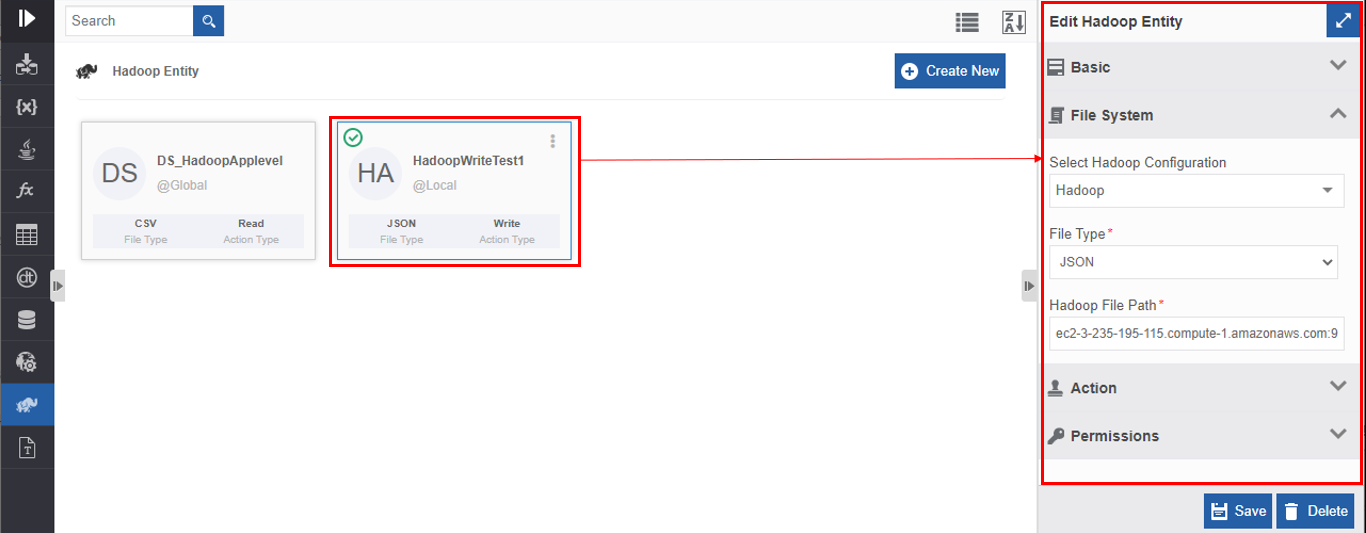
Data type: Alphanumeric and underscore.Scope* The scope of an entity is always local as the entities are created at the flow level. Description Enter a description for the Hadoop entity. File System Select Hadoop Configuration Select the required Hadoop configuration that you created in Management > Configuration Management > Hadoop . File Type* Select the input file type. 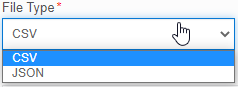
CSV : You can select .CSV files input or output.
JSON : You can select JSON files as input or output.Hadoop File Path* Enter the path of the CSV or JSON file that is to be read. Action Action Type Select the Action type. 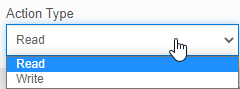
Read : If you select the action type as “Read”, during data flow execution the details are read from the data model that you have mapped and manipulated as per the configuration details.
Write : If you select the action type as “Write”, during the data flow execution the data is read and converted to CSV/JSON file and this CSV/JSON file is written to the Hadoop file system in the mentioned path as per the configuration.Permissions Access Username Enter the username who can access the Hadoop file system. Access Group Enter the user group that can access the Hadoop file system. -
Click Create. Hadoop entity with the provided details is created.
Viewing and Editing Hadoop
Make sure to unlock the application before editing if you want to edit the details of an entity that is not created by you.
- Go to Main Menu > App Studio > Applications > open [Application_Name] > Data Flow > open [Data_Flow_Name].
- Select Hadoop Entity. The Hadoop list appears.
-
Click the Hadoop card for viewing the details of the selected Hadoop. The details of the Hadoop appear in the Info Actions panel (Edit Hadoop Entity).
-
Edit the Hadoop Entity details as needed.
- Click Save.
Viewing Hadoop Associations
- Go to Main Menu > App Studio > Applications > open [Application_Name] > Data Flow > open [Data_Flow_Name].
- Select Hadoop Entity. The Hadoop list appears.
- Hover over any Hadoop card. Three dots appear on the upper right side of the card.
-
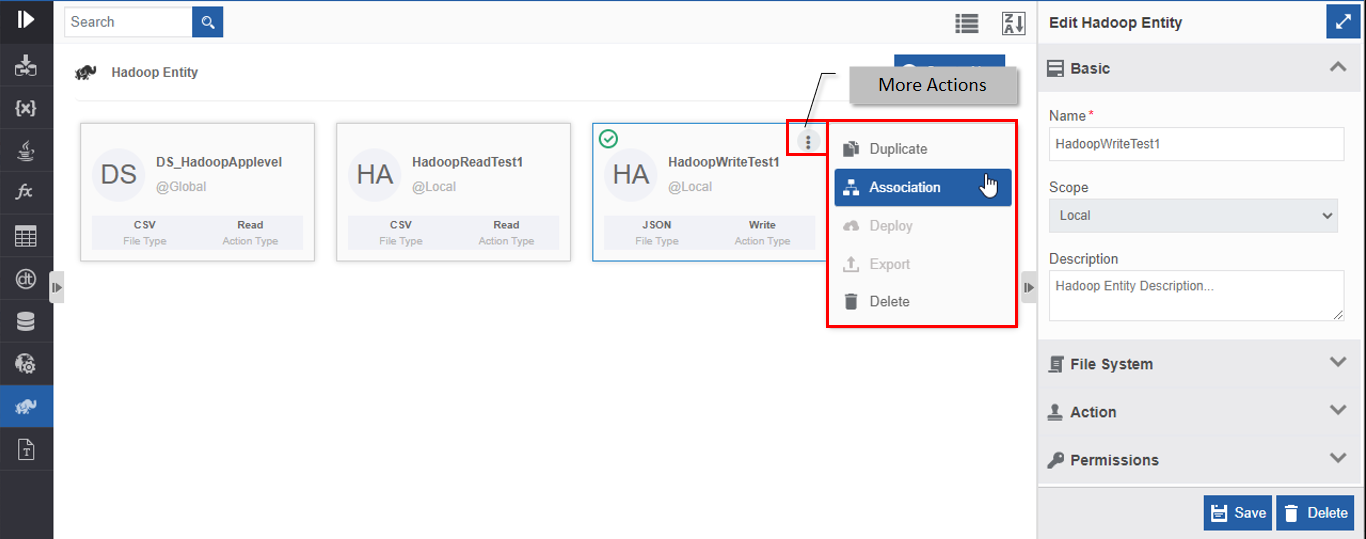
Click the three dots. More Actions appear.
-
Click Associations. The association of the Hadoop entity with the application, data flow and activities appear in a pop-up.
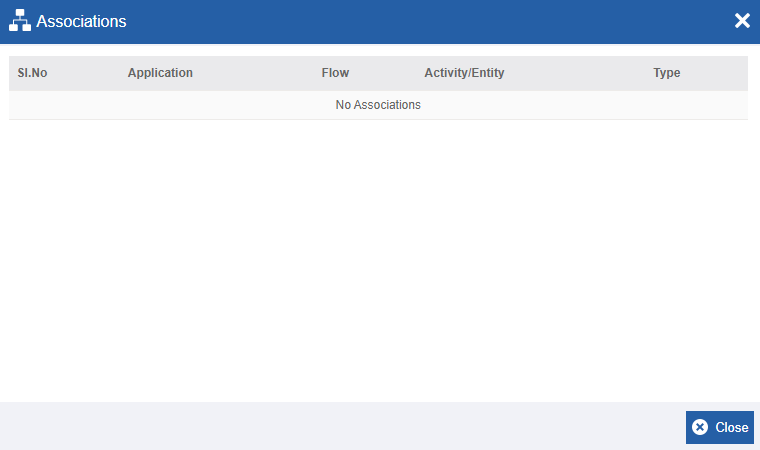
- Application – The application in which the Hadoop entity is utilized.
- Flow - The flow in which Hadoop is utilized.
- Activity/Entity - The entity or activity name in which Hadoop is utilized.
- Type - The type of entity or activity.
Duplicating Hadoop
Make sure to unlock the application before duplicating an entity that is not created by you. When you duplicate a Hadoop entity, the associations are not duplicated.
- Go to Main Menu > App Studio > Applications > open [Application_Name] > Data Flow > open [Data_Flow_Name].
- Select Hadoop Entity. The Hadoop list appears.
- Hover over any Hadoop card. Three dots appear on the upper right side of the card.
-
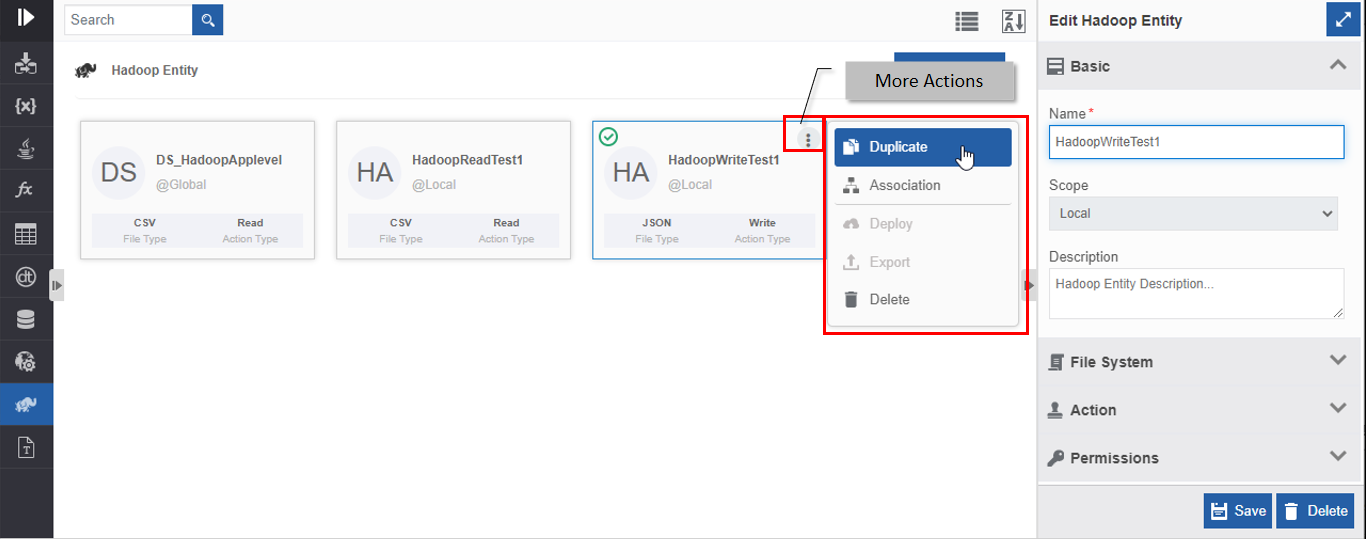
Click the three dots. More Actions appear.
-
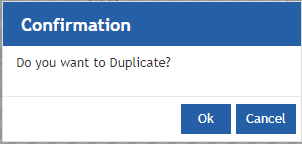
Click Duplicate. A confirmation pop-up appears.
-
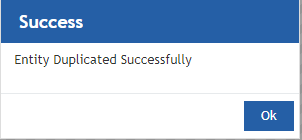
Click Ok for duplicating the Hadoop (or you can click Cancel to cancel the duplicate action). A Success message appears on the successful duplication of the Hadoop.
-
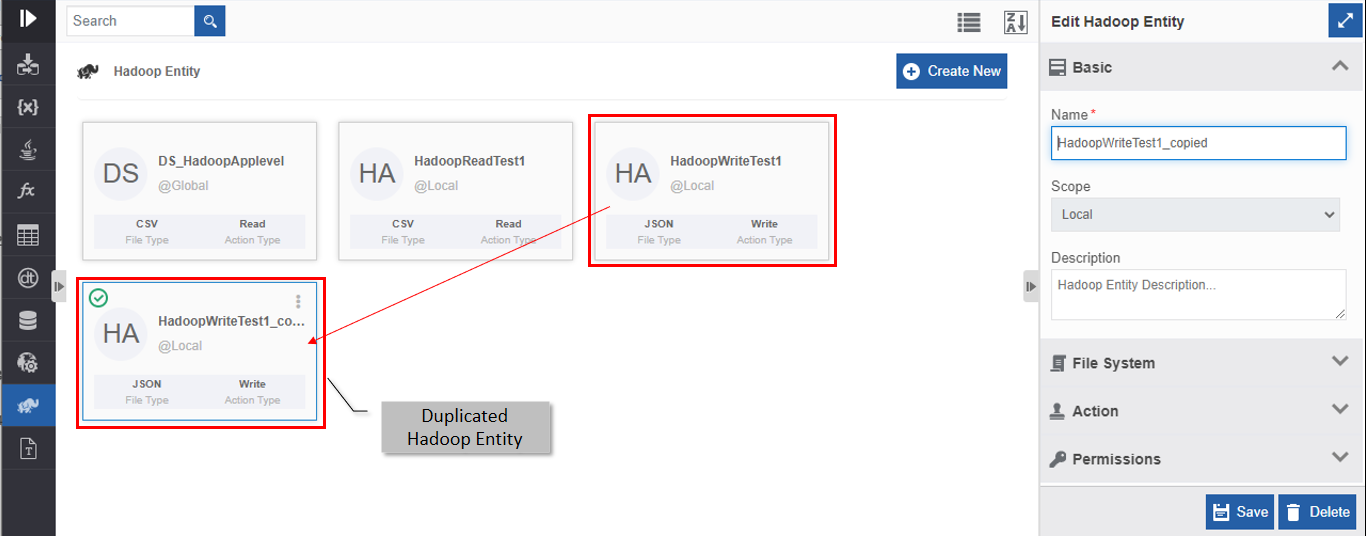
Click Ok. A duplicate copy of the Hadoop appears on the Hadoop Entity page with the same name suffixed with “_copied”.
Deleting Hadoop
Make sure to unlock the application before deleting an entity that is not created by you. Also, you cannot delete the entity if it is associated with any activity.
- Go to Main Menu > App Studio > Applications > open [Application_Name] > Data Flow > open [Data_Flow_Name].
- Select Hadoop Entity. The Hadoop list appears.
-
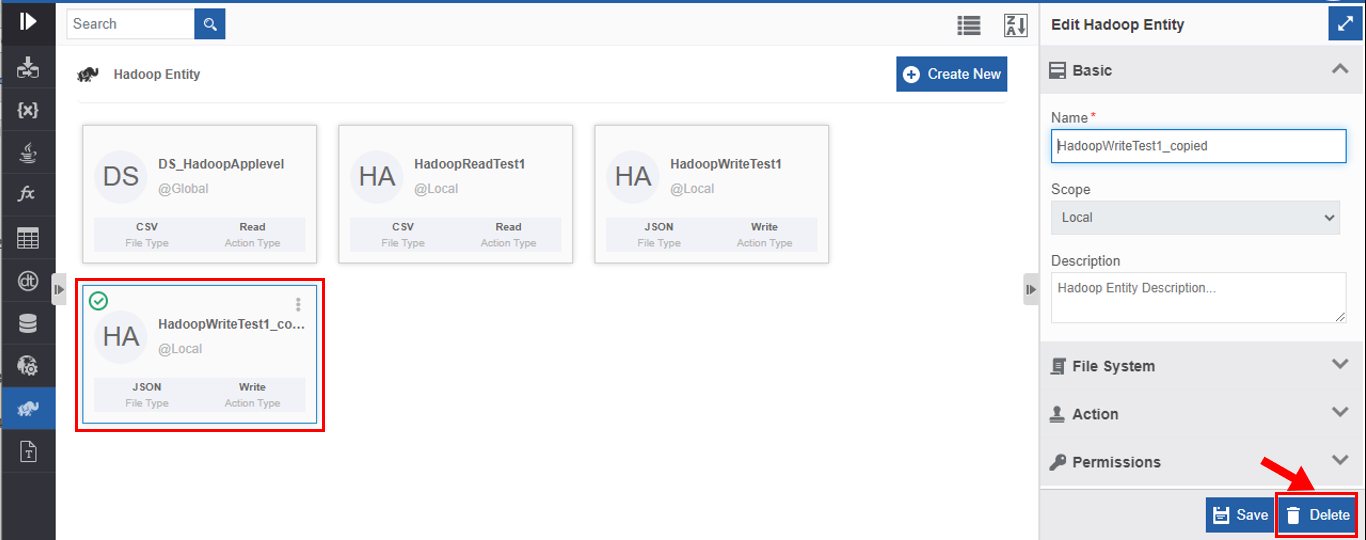
Click the Hadoop name card that is to be deleted. The lower-right of the page displays Delete.
-
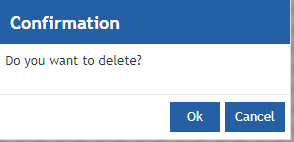
Click Delete. A Confirmation pop-up for delete appears.
-
Click Ok for deleting the Hadoop.
Or
Click Cancel to cancel the action.
Alternatively, you can follow the below steps to delete the Hadoop:
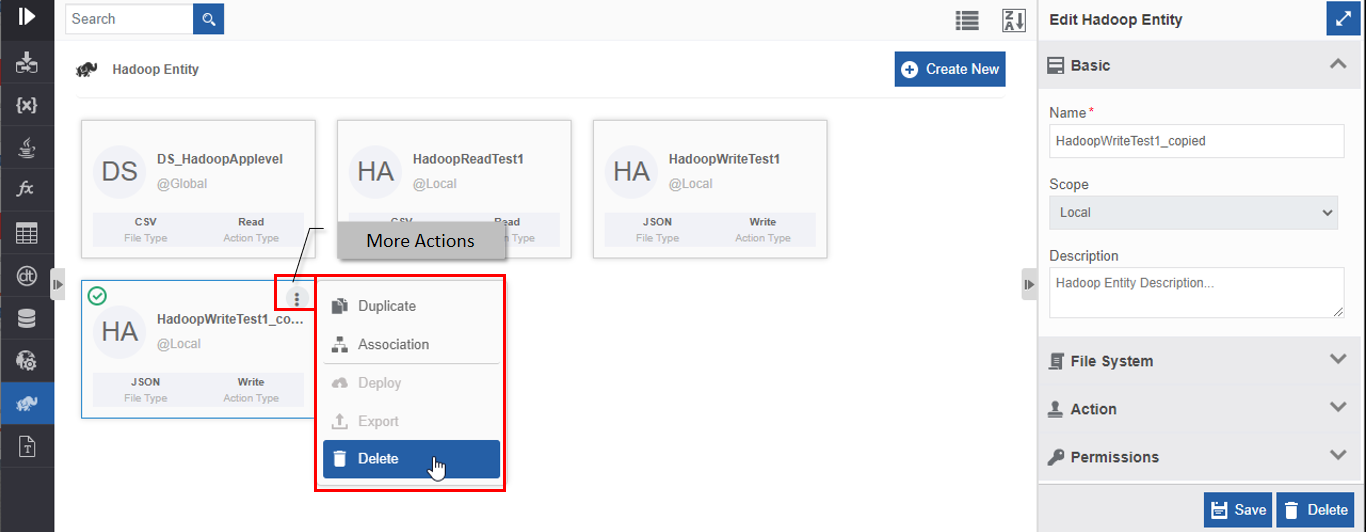
- Go to Main Menu > App Studio > Applications > open [Application_Name] > Data Flow > open [Data_Flow_Name] > Hadoop Entity.
- Hover over the Hadoop card. Three dots appear on the upper right side of the card.
- Click the three dots. More Actions appear.
-
Click Delete and follow step 4 in the above procedure.
Utilizing Hadoop
Accessing Hadoop Files in Activity
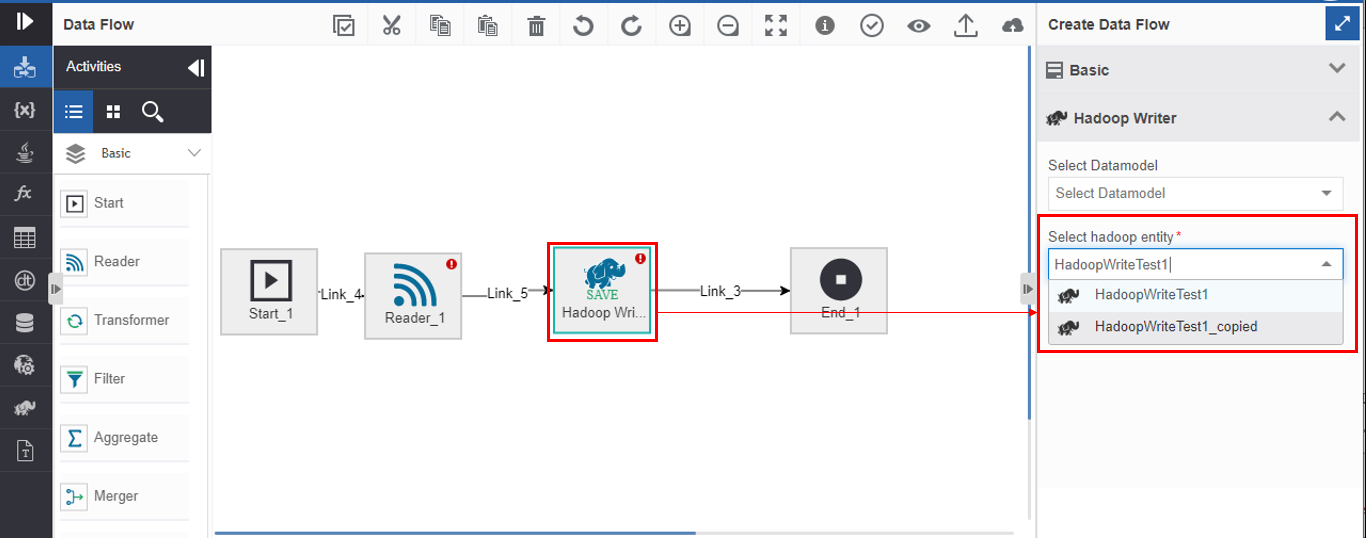
You can map the entity, Hadoop to the data flow activity, Hadoop Writer.
- Go to Main Menu > App Studio > Applications > open [Application_Name] > Data Flow > open [Data_Flow_Name] or create a data flow with Hadoop Writer activity in the flow.
- Click the Hadoop Writer activity and the Info Actions panel displays the configuration and properties.
-
Click the Hadoop Writer accordion. Hadoop Writer configuration details appear.
-
Click Select Hadoop Entity. The list of Hadoop entities of type, Write are listed on the drop-down.
- Select the Hadoop and configure other details as per requirement.
Mapping Hadoop to Datamodel
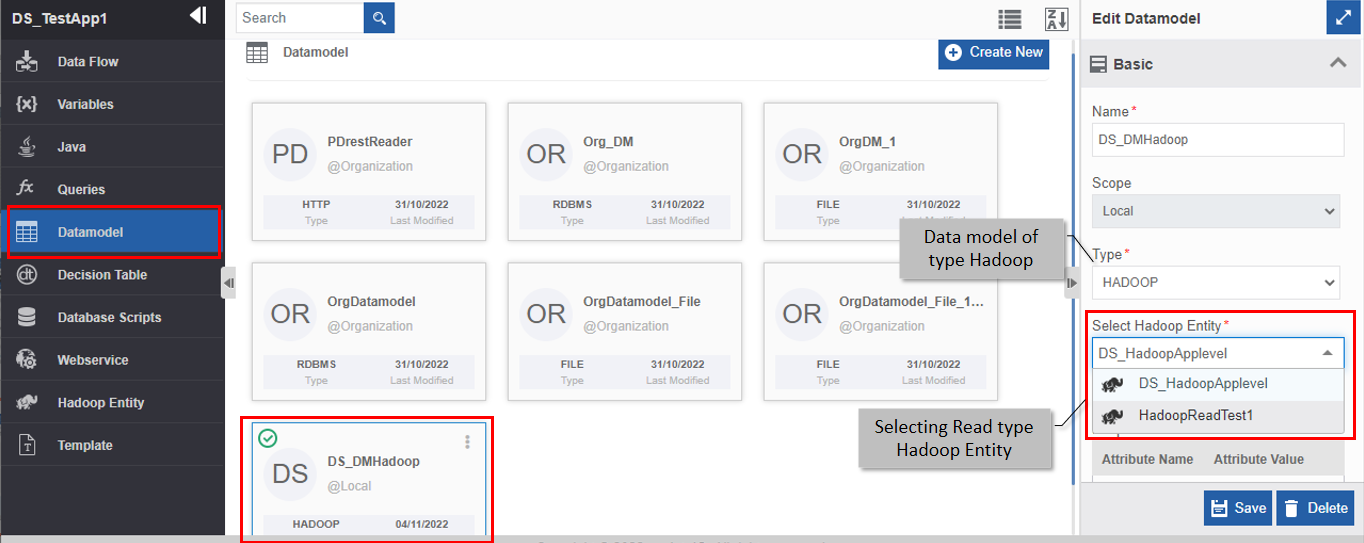
You can map a Read-type Hadoop to a datamodel that is of type Hadoop.
- Go to Main Menu > App Studio > Applications > open [Application_Name] > Data Flow > open [Data_Flow_Name].
- Select Data Model from the business entity list.
-
Click Create New and create a Data Model of Type Hadoop. Select Hadoop Entity drop-down appears.
-
Click Select Hadoop Entity drop-down. The list displays the Hadoop entities of Read type.
- Click +Attribute and enter the attribute name. The attribute name should be manually entered. You should know the column names in the file that is mapped in the Hadoop Entity. The same attributes need to be entered for the data model as per your requirement.