Web Apps
A web application (or Web App) is an application software that runs on a web server, unlike computer-based software programs that are run locally on an operating system on device. Simply put, the output is a website view.
The Web App section in the platform allows you to create and design web applications for web devices that run on web servers. Web view pages are created and designed within the Web Apps.
The website pages (views) can be grouped under a single web app (which makes up the website).
The Organization admin-level users can access the web app section and design the views.
Viewing and Editing the Web App Details
-
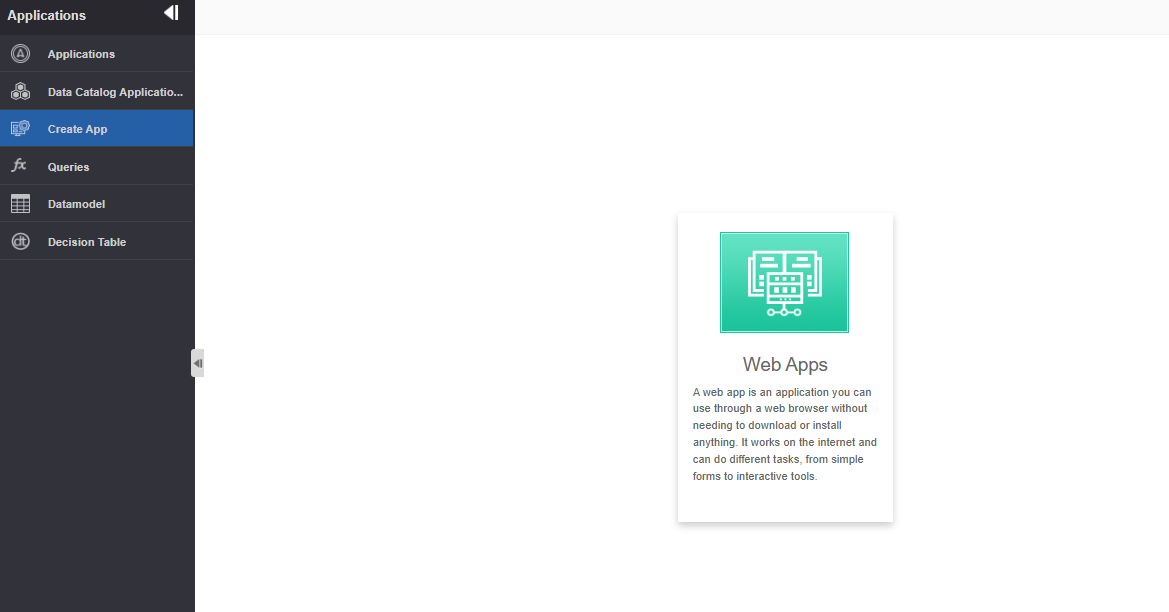
Go to Main Menu > App Studio > Create App > Web Apps.
-
Click Web App. The Web app list page appears.
-
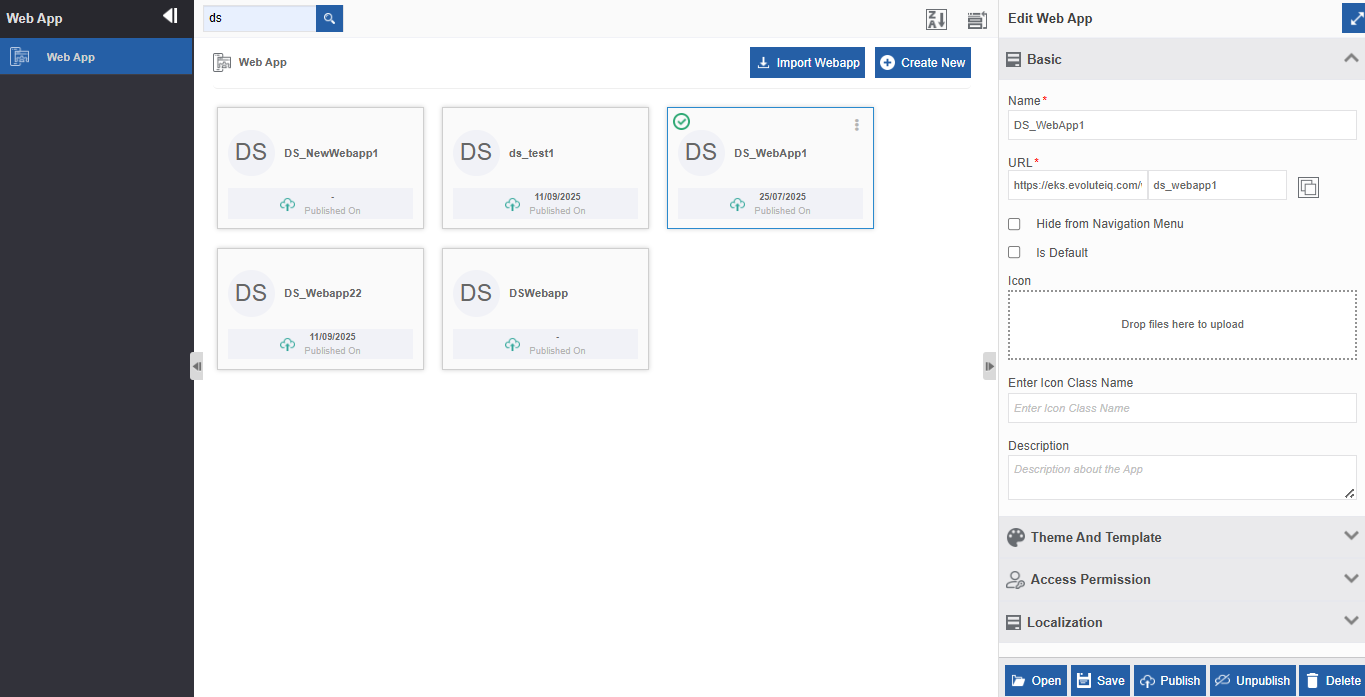
On the Web App list page, click a Web app name. The right side panel (Property panel or the Info Actions panel) displays the configuration details of that app. Edit the required details.
-
Click a Web app name from the list and click Open to view the list of all Views (or Pages) within that Web app.
Click a view page to view the properties and double-click the view to view the view designer page. Edit the details as needed. -
Click Save to save the modified details.
Note
When you edit and save the details, the details get saved. However, if you are making any changes in the themes and templates and if you want it to get reflected in the View pages that has app-level theme and template, you need to publish the web app.
Always publish the Web App
It is recommended to publish the web app after making any changes that apply to the view level.
Creating and Configuring a Web App
-
Go to Main Menu > App Studio > Create App > Web Apps. The Web App list page appears.
-
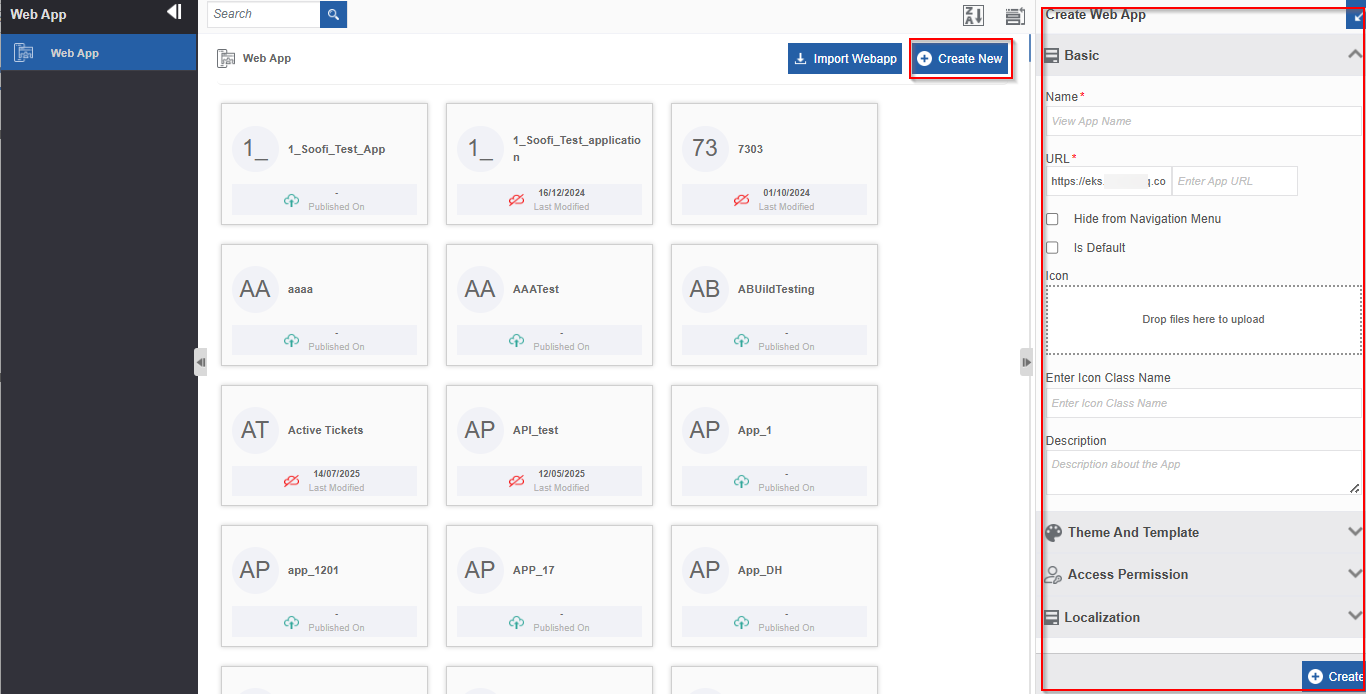
On the Web App list page, click Create New on the upper-right of the Web View page. Create Web View panel appears on the right side.
-
Configure the details as explained below.
Field Description Basic Name Enter the name for the page. URL Enter the URL text. URL is partially auto-generated. Write the app name, and it appends to the URL as an extension. Hide from Navigation Menu Select the check box if you want to hide this page from the main menu or navigation pane. Is Default Select Is Default if you want to set this theme and template to be the default for the views and forms in the applications. Icon Click and select the icon that you want to give to the app. Or drag and drop the icon to the dotted area. Enter Icon Class Name Enter the icon class name (if you need to specify the class name for the icon) Description Provide a description of your app. Theme and Template Themes Select a Theme that you want to apply to the app. Templates Select a Template for your app. Access Permission Roles* Click the Access Permission accordion and select the required Role.
Click SHIFT and select continuous multiple roles.
Click CTRL and select the required roles.Localization Supported Languages* Select the language(s). The selected languages are supported for conversion in further configurations. The default supported language is English.
The supported languages selected here apply to all the views in this web app. Also, any one of the supported languages can be applied to the WebApp.
Click the close button on the language name to remove that language from the list. You cannot delete “English” as it is the default language, and English is used by defaut when there are no relevant translations available.Default Language Select a default language. English is the default language.
The interface allows you to select any one of the supported languages as the default language.
The selected default language applies to the web app name, view name, and all the UI elements in views within the Webapp. This default language will get applied only when you “Get AI translations” for the default language in the respective sections.View Locale Mapping Click View Locale Mapping. The localization pop-up appears with WebApp Name and language options selected in the Supported Languages. 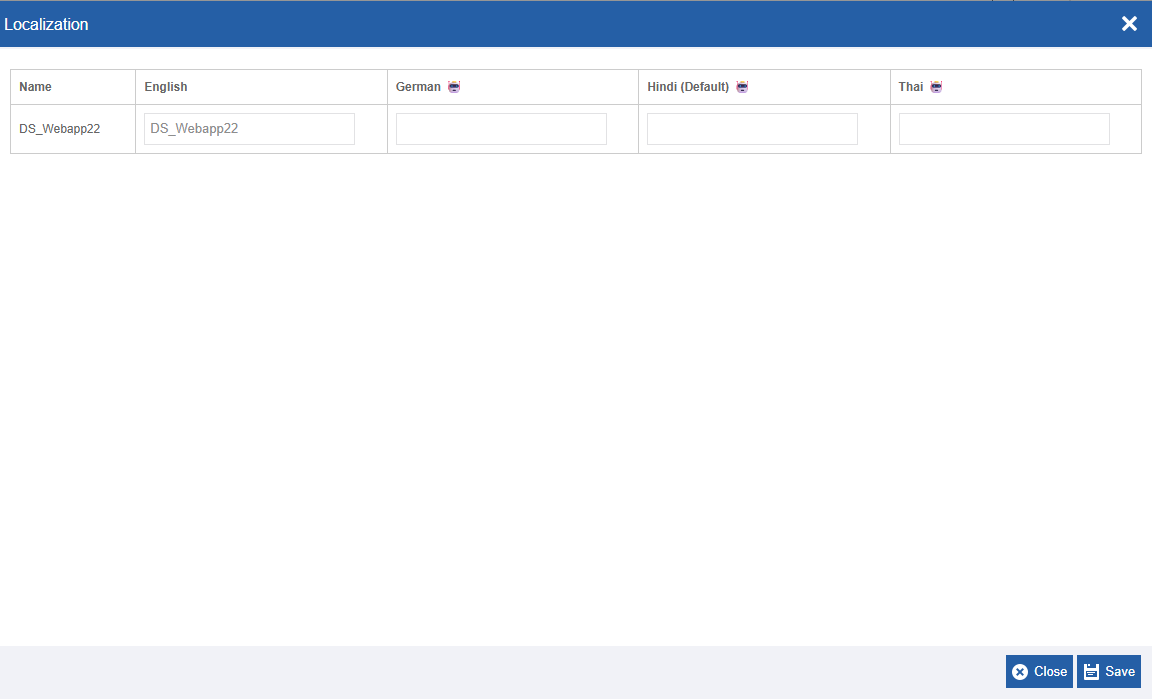
Click the Get AI Translations icon for the language for which you want translation.
You can translate to all the supported languages available. However, only the default language gets applied to the WebApp name. The default language column header has “(Default)” mentioned in the column header.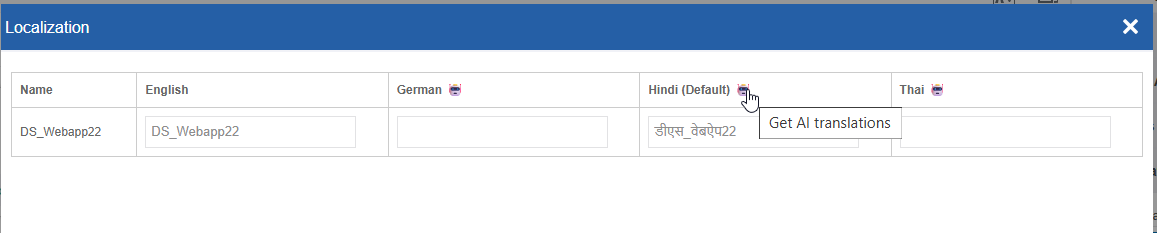
-
Click Create to create the Web app.
Note
When you create and publish a web app, the web app, along with all the published view pages, will be available on the Main Menu navigation. If you have chosen to hide a page from the menu, it will not appear in the navigation pane.
Exporting a Web App
Export feature allows you to export a web app as a package to your local system.
- Go to Main Menu > App Studio > Create App > Web Apps. The list of all Web Apps in the platform appears.
-
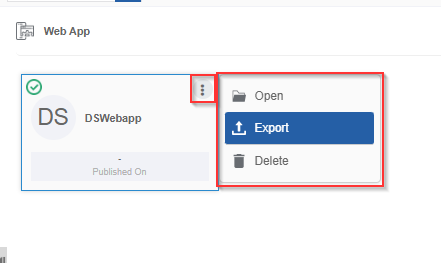
Hover over a Web App name card and click the three dots (More Actions).
-
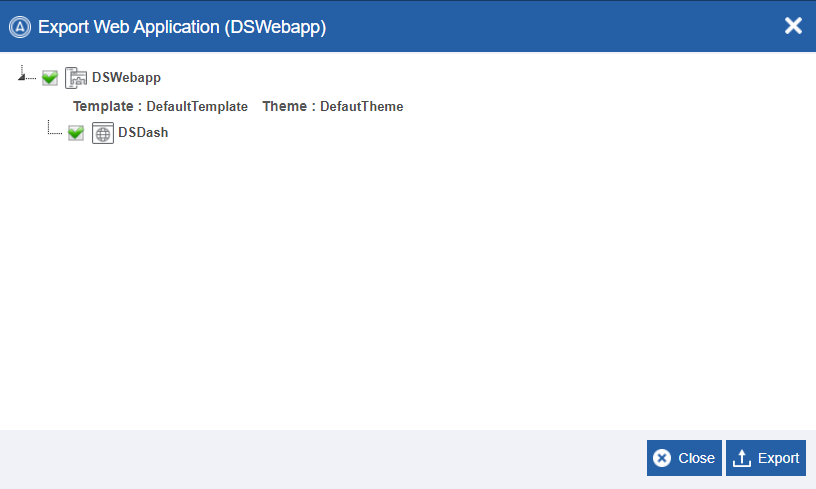
Click Export. Details of the Web App appears.
-
Select only the required views that need to be exported. Select the web app name to select all the views in the web app. By default, all the views will be selected.
- Click Export. The selected Web app gets exported to your local system in the .pkg format.
Importing Web App
The import feature allows you to import a web app package into the Web Apps section for utilization.
-
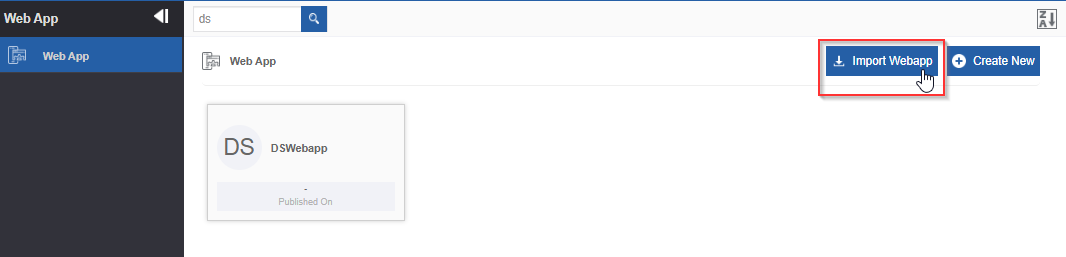
Go to Main Menu > App Studio > Create App > Web Apps. The list of all Web Apps in the platform appears.
-
On the upper right click Import Webapp.
-
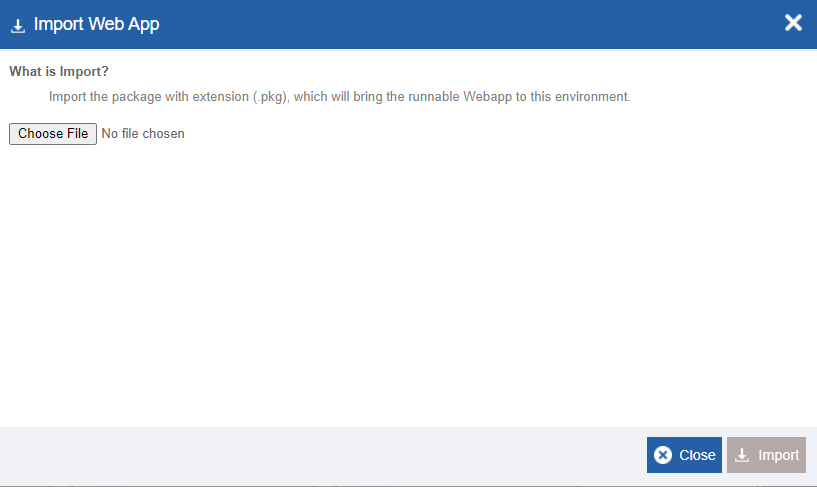
Click Choose File and select the file (in .pkg format) that you want to import. The selected Web app details appear.
The colored “E” along with the entity name indicates that such an entitiy already exists.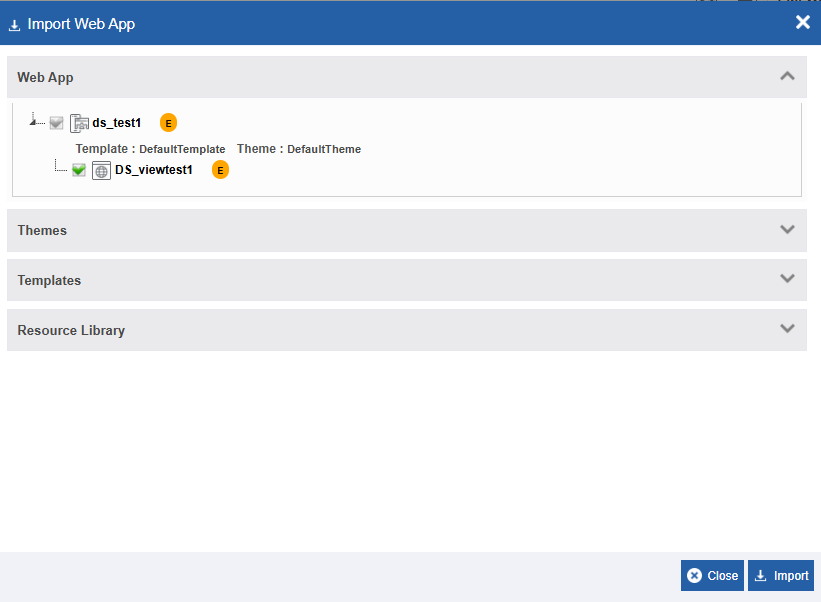
-
Click Themes / Templates / Resource Library sections to view the details of what all files are associated with this web app. It means that when you import a web app all the associated files also get imported to the platform.
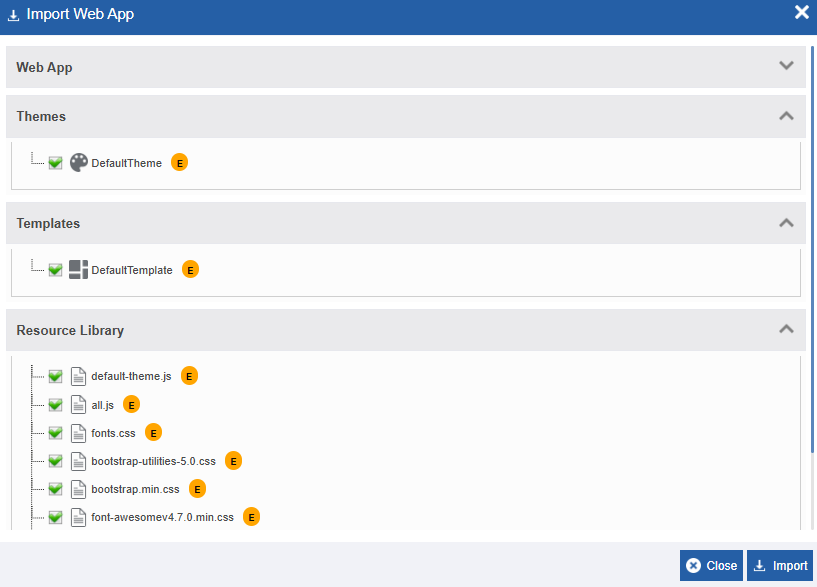
Select or deselect the required files. A green tick mark indicates selection.
-
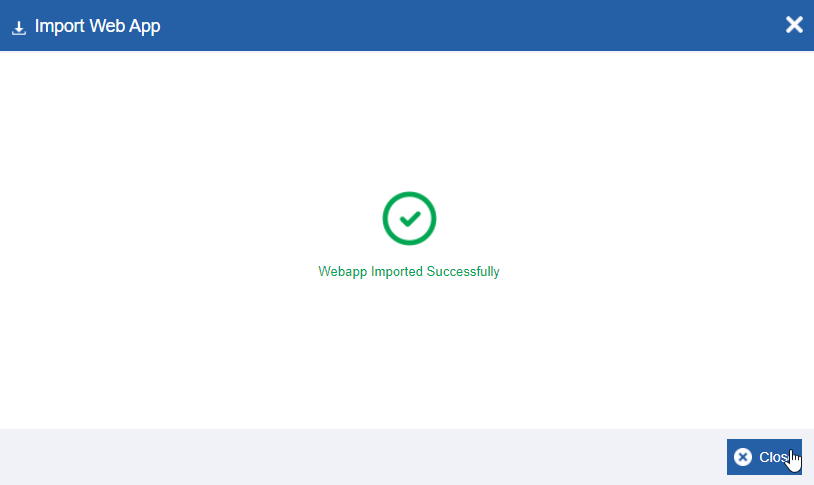
Click Import. A Success message appears on successful import of the file.
-
Click Close. The file imports to the platform.
Publishing a Web App
When you publish the Web app, all the configurations in the web app are saved and published. The applicable configuration details will get updated to all the views within that web app.
It is mandatory to publish the webapp to access all the published views within that webapp.
Note
When you publish the web app, the views within that web app are not published. It indicates that webapp is published and the published views within this webapp are accessible.
Tip
If you publish a view and if the corresponding web app is not published, the view will not be accessible.
- Go to Main Menu > App Studio > Create App > Web Apps. Web App list page appears.
-
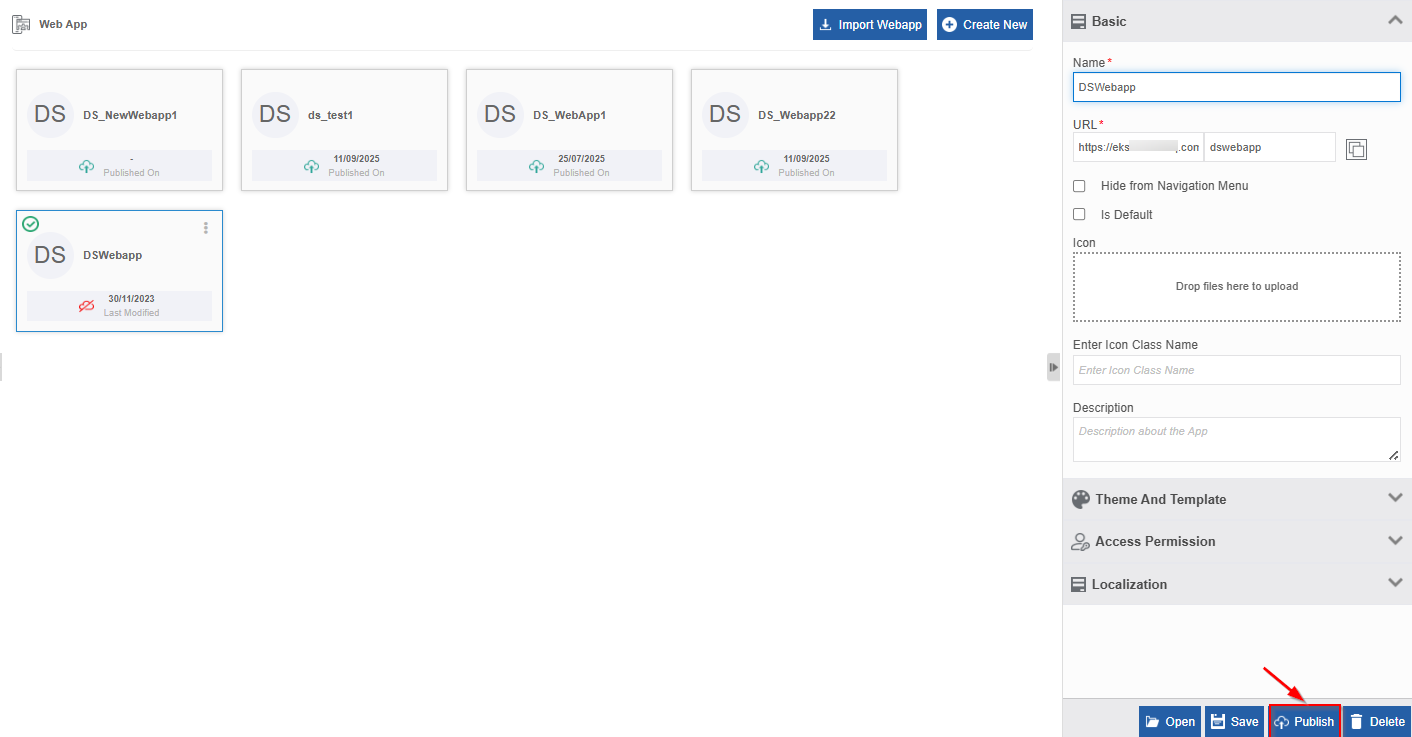
Click and select a Web app.
-
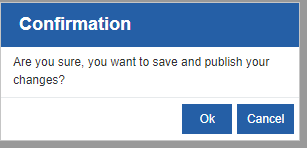
Click Publish. Confirmation pop-up appears.
-
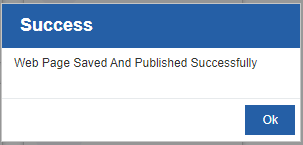
Click Ok. On successful publish of the web app, a success message appears.
-
Click Ok.
The green cloud icon
in the webapp card indicates a published workflow. The red cloud icon
indicates an unpublished webapp.Warning
If you make any changes in the views for any published workflows, you do not need to further publish the webapp. You just need to publish the view to reflect changes.
Unpublishing a Web App
When you unpublish a web app, you cannot access the published views within that web app.
If you have published and unpublished views within a web app, both published and unpublished views within the web app will get unpublished.
- Go to Main Menu > App Studio > Create App > Web Apps. The Web App list page appears.
-
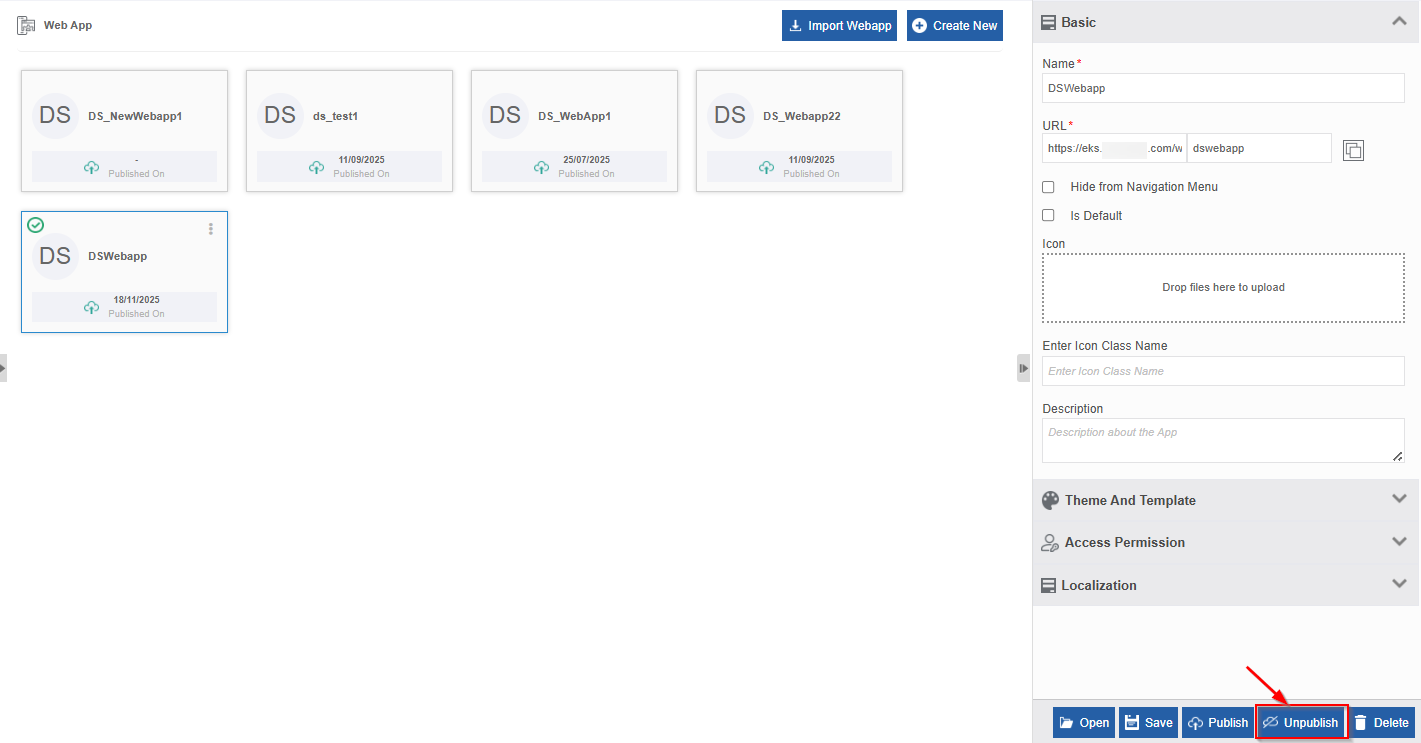
Click and select a Web app. For an already published web app, the Unpublish button appears.
-
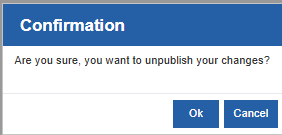
Click Unpublish. Confir006Dation message appears.
-
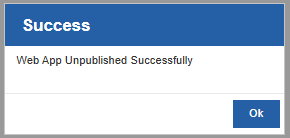
Click Ok. A success message appears on successful unpublish of the web app.
-
Click Ok.
The green cloud icon
in the webapp card indicates a published workflow. The red cloud icon
indicates an unpublished webapp.
Deleting a Web App
When you delete a web app, all the views created within that web app get deleted.
- Go to Main Menu > App Studio > Create App > Web Apps. The Web App list page appears.
-
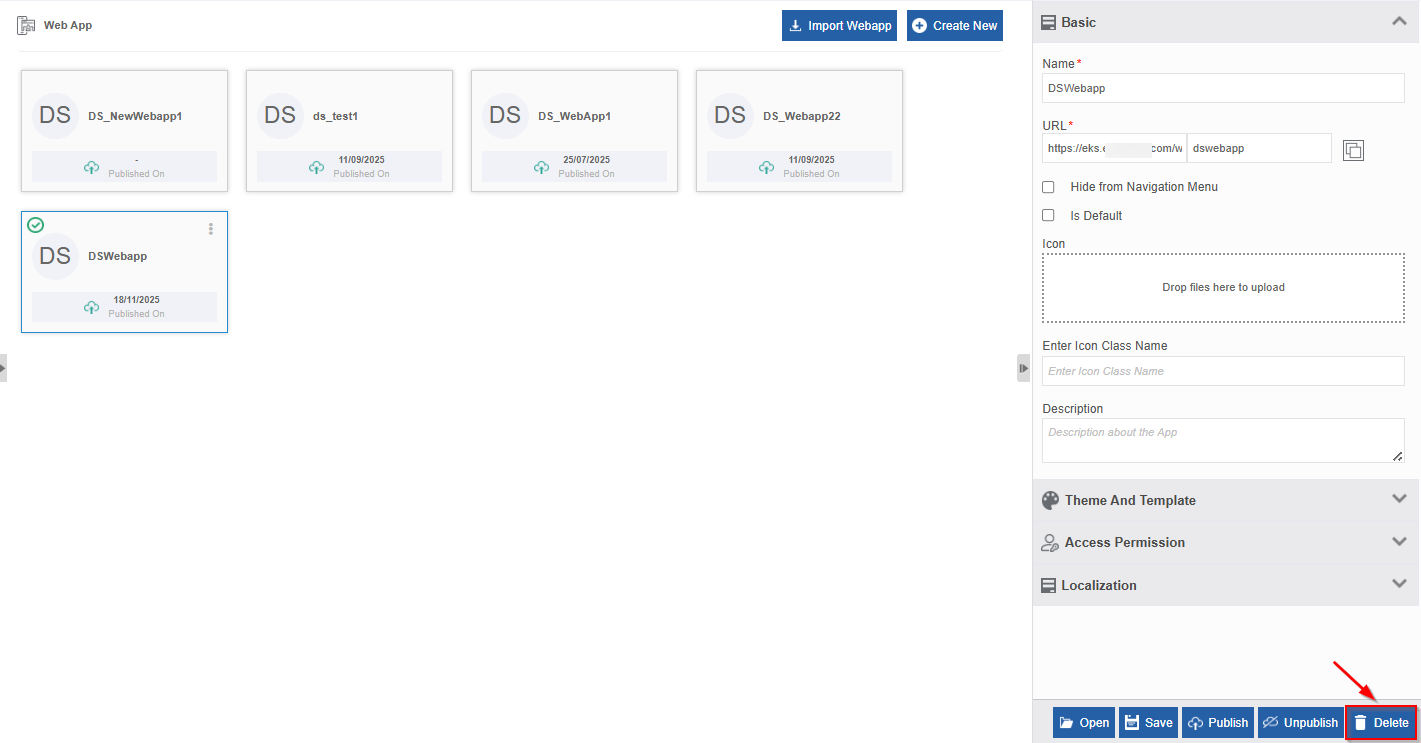
Click a Web app name that you want to delete.
-
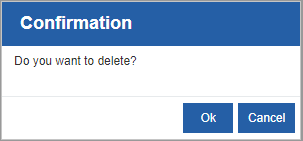
Click Delete. Delete Confirmation pop-up appears.
-
Click Ok.
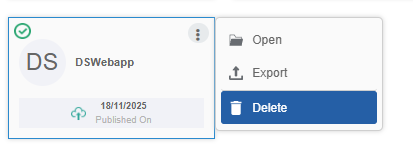
Alternatively, hover over the web app name card > click three dots (More Actions) > click Delete.