Web App Views
Views in web apps are website views that allow you to create a page. The view designer allows you to import the structure from a public website, which makes your design work easier. Web App views (view pages in the Web App module) are independent and can be associated with the process flows to achieve your business requirements.
Design Views using the controls and components available on the view designer. Options and categories of different control features are available on the View designer.
To view the View designer, you need to create a web app and a view.
Creating and Configuring a View
- Go to Main Menu > App Studio > Create App > Web Apps. The Web App list page appears.
- Click and select a Web app for which you want to create the view.
-
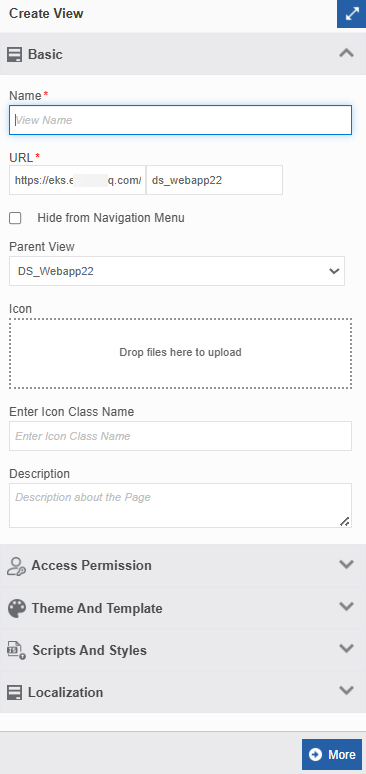
On the View list page, click Create New on the upper-right. The Create View panel appears on the right side.
-
Enter the details as explained below.
Field Description Basic Name Enter the name for the page. URL Enter the URL text. URL is partially auto-generated (with the Web App). Write the page name so that it will be amended to the URL as an extension. Hide from Navigation menu Select the check box if you want to hide this page from the main menu or navigation list. Parent View From the Parent View, select a parent view. The selected page will be the immediate parent of the current page.
If you select a web app name as the parent view, the page will be a parent page.Icon Click and select the icon that you want to give to the page. Or drag and drop the icon to the dotted area. Enter Icon Class Name Enter the icon class name (if you need to specify the class name for the icon, for example, from the Bootstrap icons) Description Provide description of your view. Access Permission Roles Click the Access Permission accordion and select the required Role. The web app pages apply to the selected roles only.
Click SHIFT and select continuous multiple roles.
Click CTRL and select the required roles.Theme And Template Theme And Template If you have selected a theme and template for the parent of this page, then the same theme and template apply to the child pages.
Select Use app level theme and template if you want to apply the same theme and template as in the app level.
Else if you want to provide a different theme and template, clear Use app level theme and template, and choose any other available theme or template from the list displayed.
From the list of Themes, select a theme that you want to apply.
From the list of Templates, select a template that you want to apply.
Note : Themes and Templates are defined in the Management section. If you want to design the themes and templates, navigate to Management> Themes and Templates to create the same
- At run time, switch to dark or light theme by selecting Light or Dark mode from the Platform title bar (Menu) theme/template icon.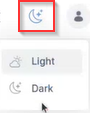
Scripts and Styles Scripts and Styles Click the Scripts and Styles accordion to select styles. The styles in these CSS and JS files selected will overwrite the corresponding styles in the Themes and Template. 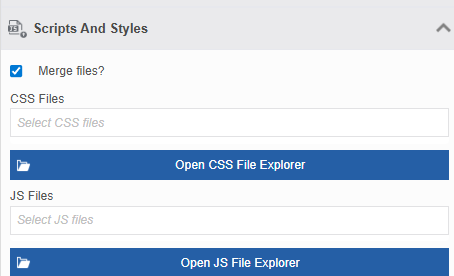
Merge Files? Click Merge files? if you want to merge the selected files. CSS Files Select the CSS files that you want to be associated with the view. This dropdown lists the files that are uploaded in the Manage > Resource Library. 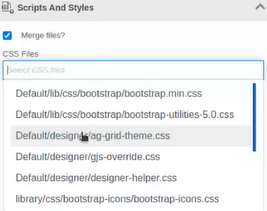
Open CSS File Explorer If a user does not have access to the Manage and hence no access to upload files to the resource library, then click Open CSS File Explorer and select the required CSS file from the local system. In this way, upload the file to the resource library and use it for the selected page. 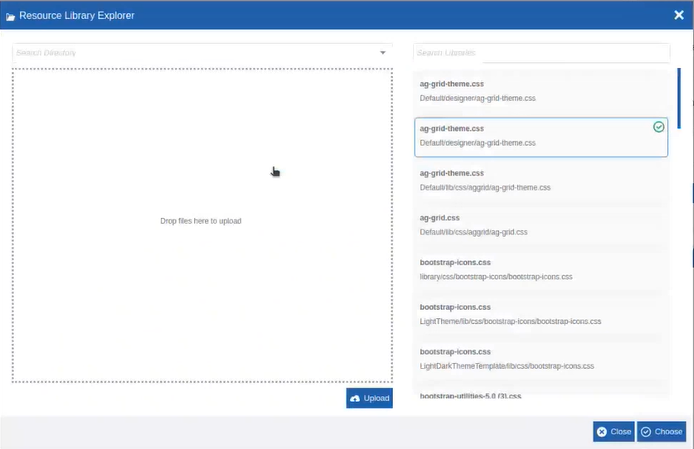
- Select the Directory to which you want to upload the files.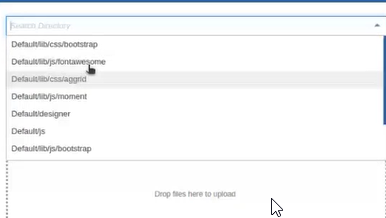
- Click Drop files here to upload and select your file.
- Click upload at the bottom right of the box.JS Files Select the required JavaScript files that you need to be associated with the view. Open JS File Explorer If a user does not have access to the Manage and hence no access to upload files to the resource library, then click Open JS File Explorer and select the required JS file from the local system. In this way, upload the file to the resource library and use it for the selected page.
- Select the Directory to which you want to upload the files.
- Click Drop files here to upload and select your file.
- Click upload at the bottom right of the box.Localization Click View Locale Mapping to apply localization. This localization applies to the view name that appear on the navigation menu. 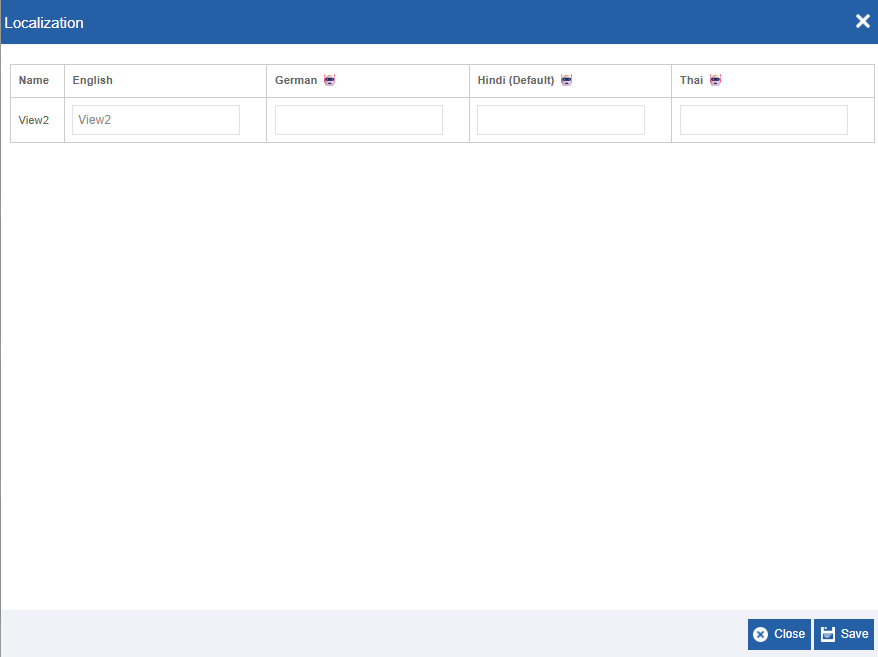
The languages that appear on this localization pop-up are dependend on the languages that you selected for localization at the webapp level.
- Click the Get Gen AI Translations icon next to the language column header of your choice to get translations. Translated text appears for the view name. If there is no translation available, it rolls back to the default, English language.
- Click Save on the pop-up to apply the changes. -
Click More to navigate to the design canvas to design the view page. The selected theme and template will be loaded in the designer.
- Design the page as per your needs.
- Click Create to create the view. The look and feel of your view completely depends on the template and theme you applied.
Viewing the Views List
- Go to Main Menu > App Studio > Create App > Web Apps. The Web App list page appears.
-
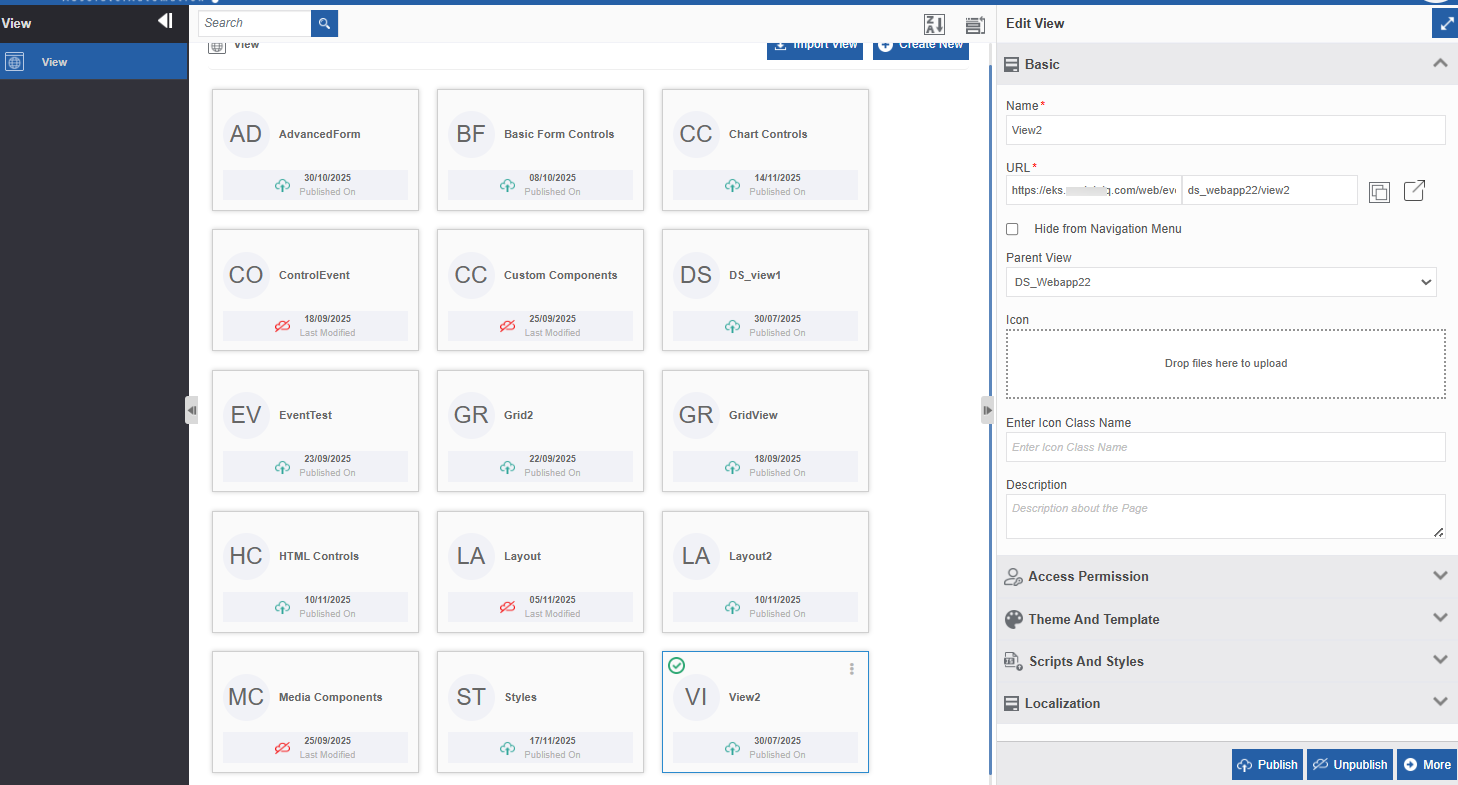
Click and select a Web app and click More (or double-click the Web App name). All the views within that web app appear.
-
Click a View name card to view the view details in the property panel.
Viewing the View Page Designer
After creating the view, it will be listed in the view list page.
- Go to Main Menu > App Studio > Create App > Web Apps. Web App list page appears.
-
Click a [Web App name] – Open > [View name] - Open. The View designer opens to design your view.
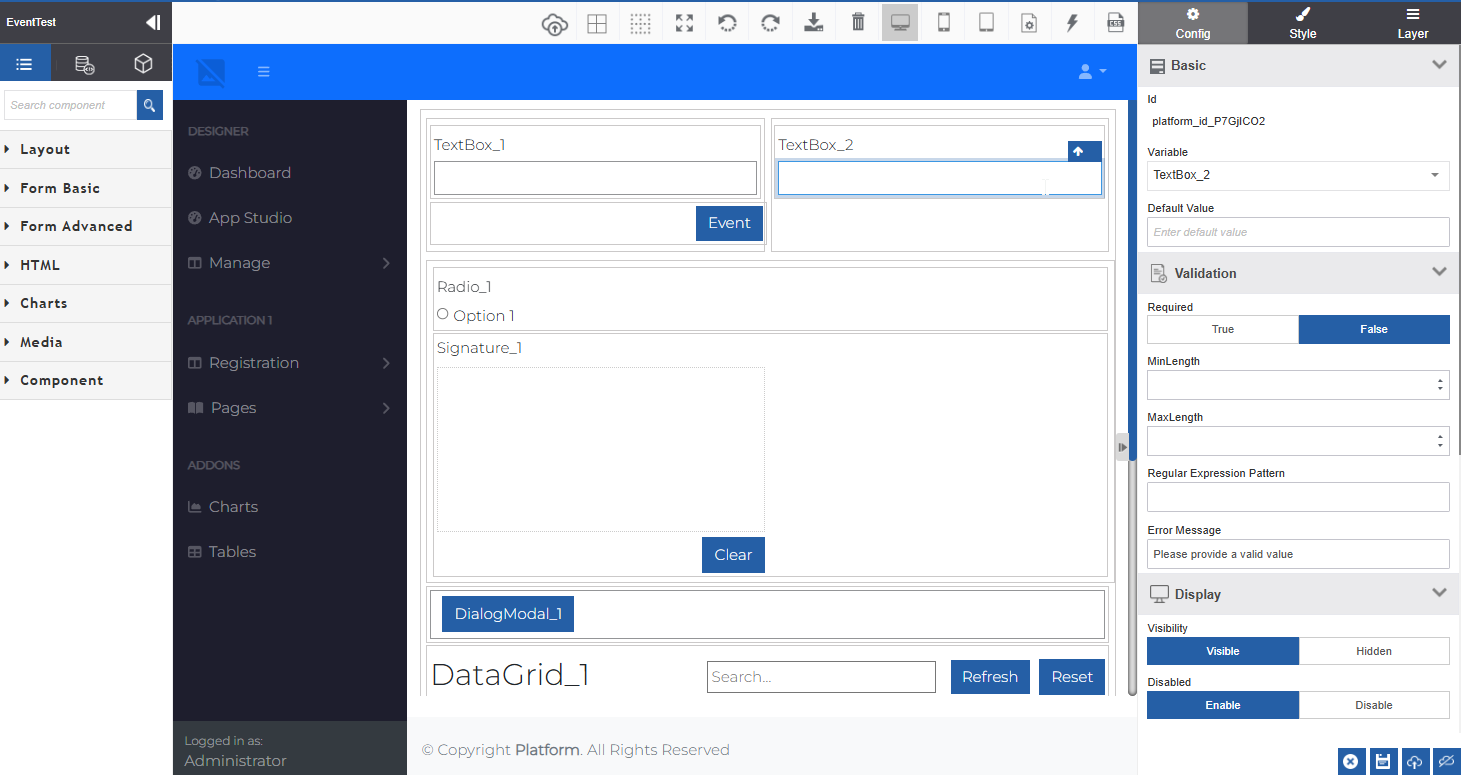
The look and feel of the view in the designer area in the middle of the screen completely depends on the theme and template that you have selected.
Exporting View
- Go to Main Menu > App Studio > Create App > Web Apps. The list of all Web Apps in the platform appears.
-
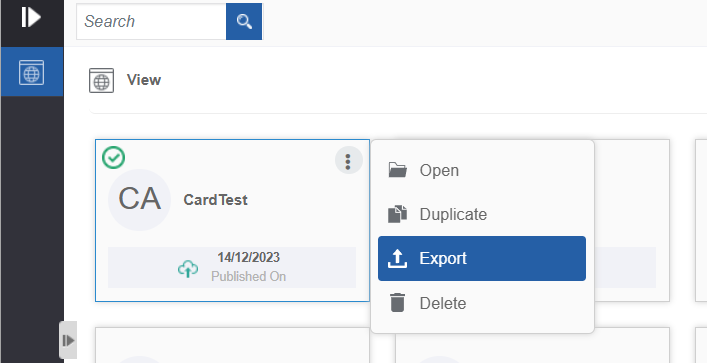
Hover over a View name click the three dots (more actions).
-
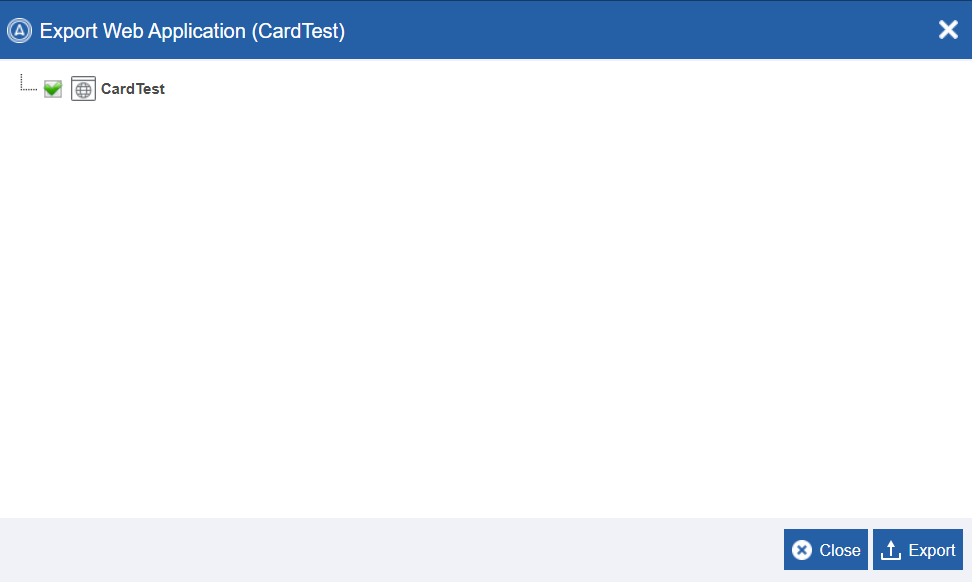
Click Export. Export details appear for the view.
-
Click Export. The view gets exported to your local system.
Importing View
- Go to Main Menu > App Studio > Create App > Web Apps. The Web App list page appears.
-
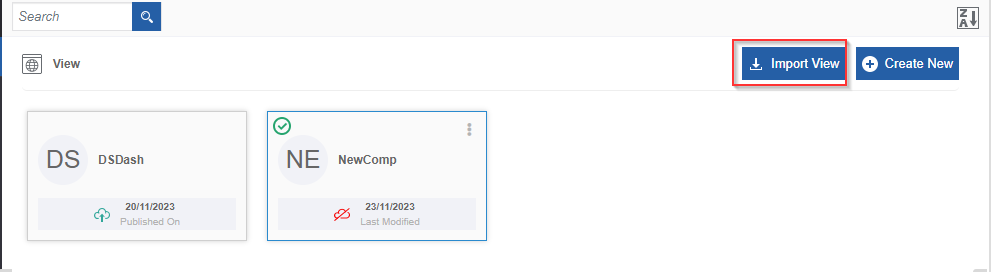
Click a Web App name and navigate to the View list page.
-
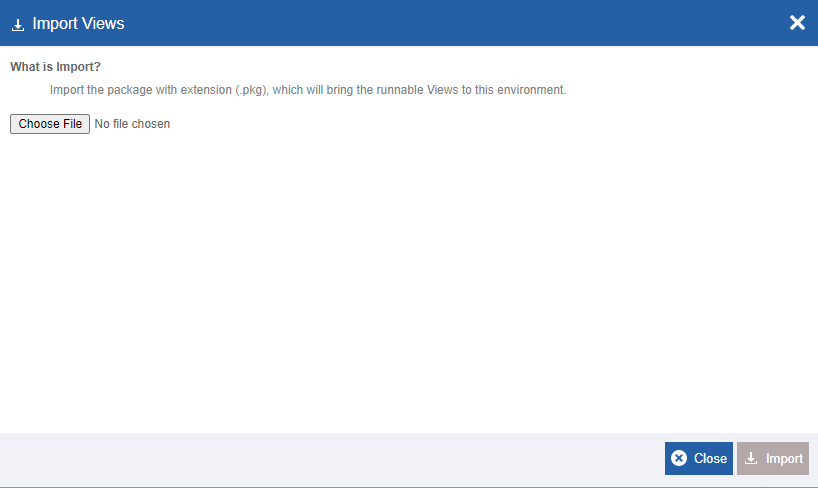
Click Import View. Import view page appears.
-
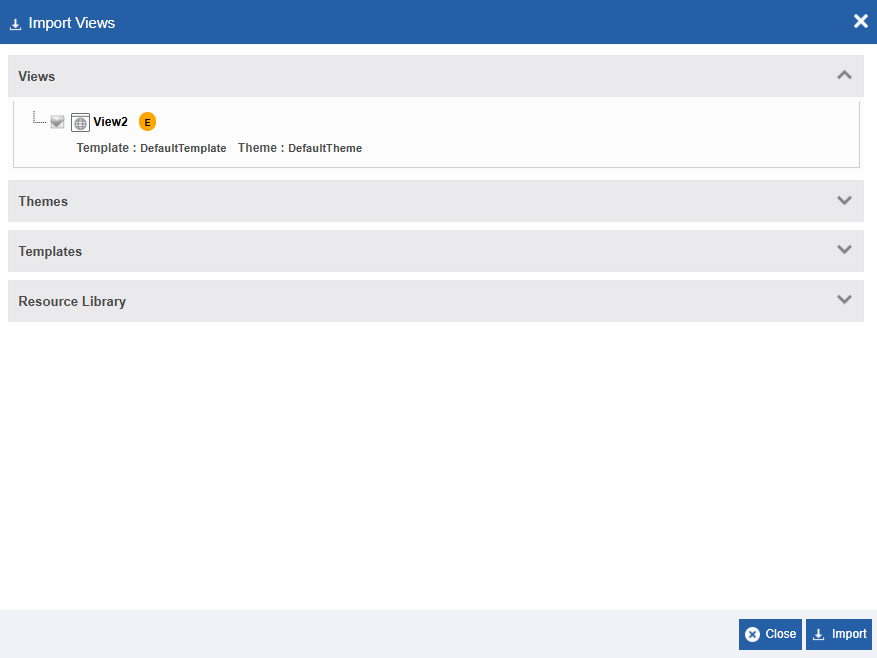
Click Choose File and select the package file that you need to import. The import file should be of package type (.pkg file). Import details appear.
-
Click each accordion section to view the details of what all files are associated with this views. It means that when you import a view all the associated files also get imported to the platform.
- Click Import. A Success message appears on successful import of the file.
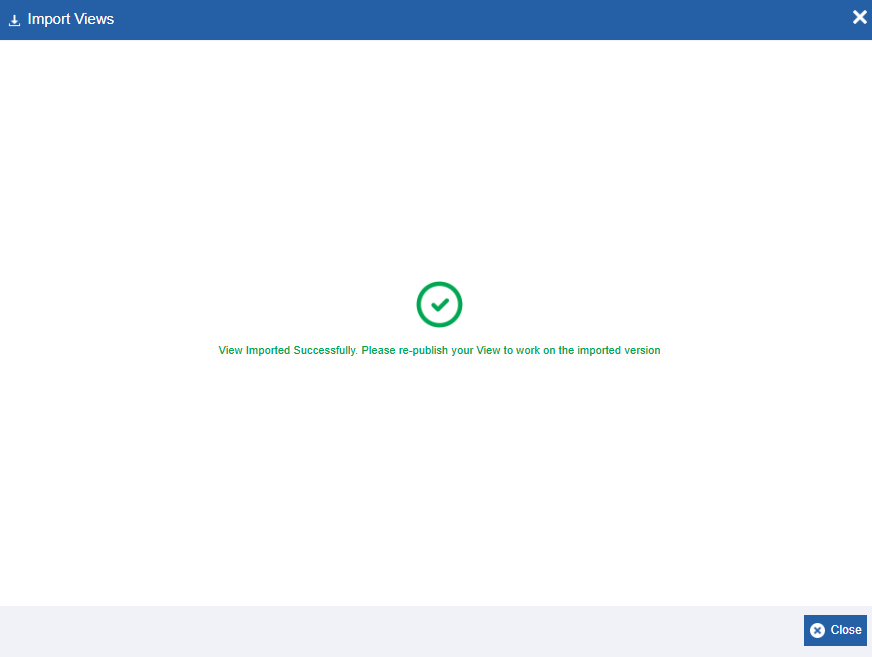
- Click Close. The file get imported within in the selected web app.
Publishing a View
When you publish the view, the view page becomes accessible in a browser with the URL of that view page.
- Go to Main Menu > App Studio > Create App > Web Apps. The Web App list page appears.
-
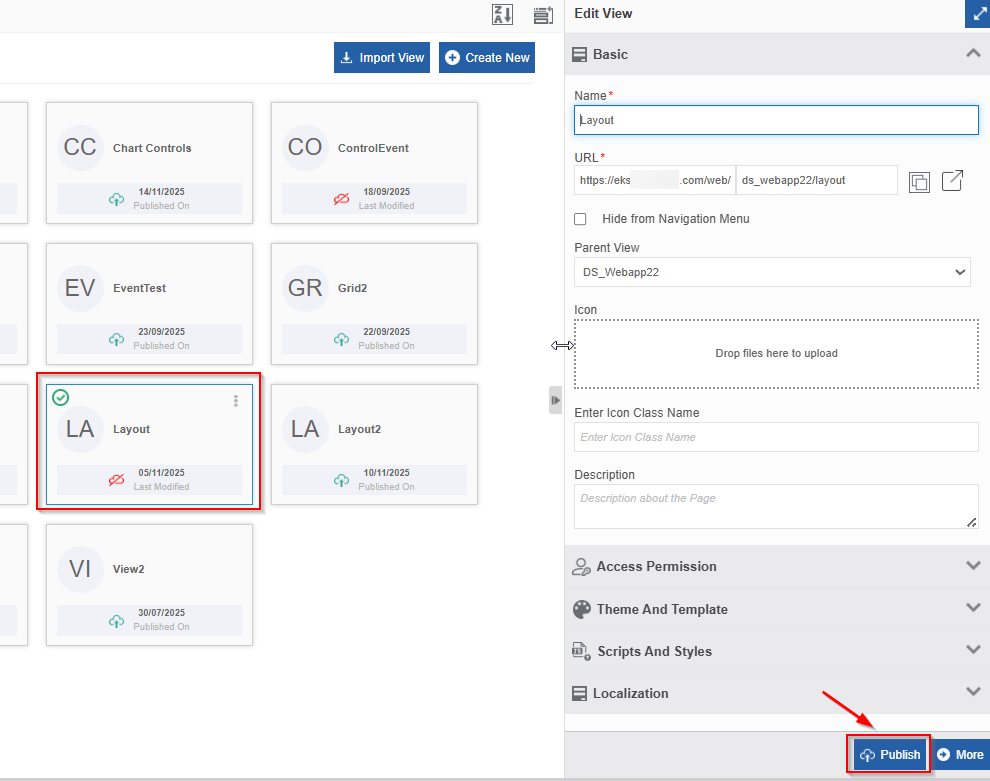
Click and select a Web app and then select a view.
-
Click Publish. Publish confirmation appears.
Alternatively to publish a view:
Navigate into the view designer (by clicking More in the view list screen) and then click the publish icon ( ) icon on the bottom right of the designer.
or
) icon on the bottom right of the designer.
or
Click the save and publish icon on the designer toolbar.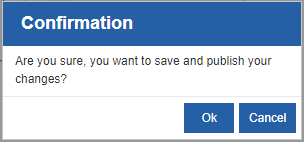
-
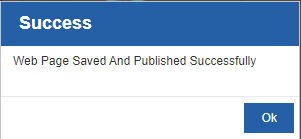
Click Ok. A success message appears on successful publication of the view.
-
Click Ok.
The green cloud icon
 in the view card indicates a published view. The red cloud icon
indicates unpublished view.
Unpublishing a View
You will not be able to access the view after unpublihing it.
- Go to Main Menu > App Studio > Create App > Web Apps. The Web App list page appears.
-
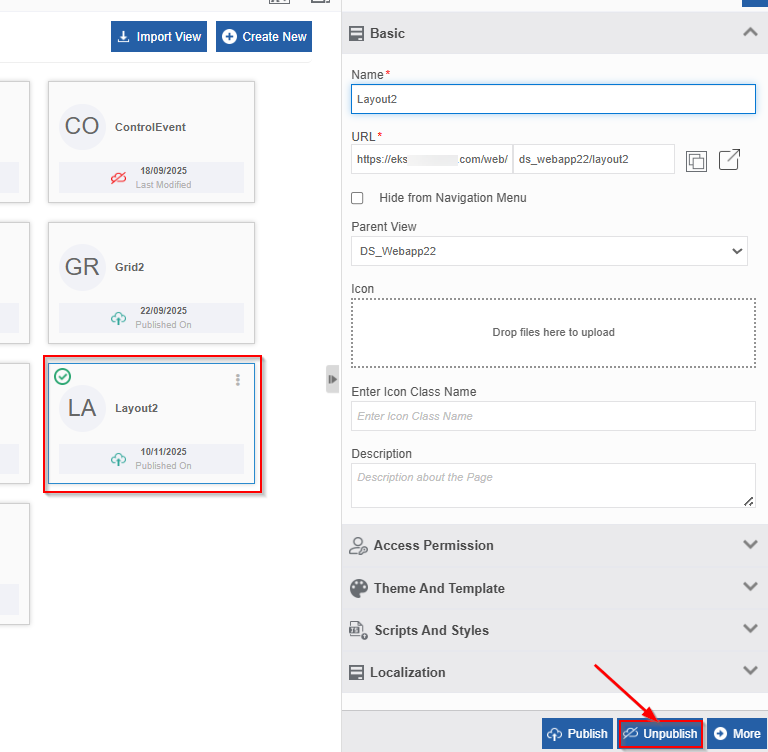
Click and select a web app and then select the view name that you want to unpublish. For an already published view, Unpublish button appears.
-
Click Unpublish. A success message appears on successful unpublishing of the view
Alternatively, to unpublish a view,
Navigate to the view designer (by clicking More in the view list screen), then click the unpublish icon at the bottom right of the designer.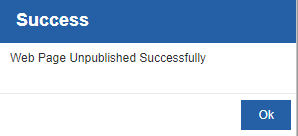
-
Click Ok.
The green cloud icon
in the view card indicates a published view. The red cloud icon indicates unpublished view.
Duplicating a View
- Go to Main Menu > App Studio > Create App > Web Apps. The list of all Web Apps in the platform appears.
-
Click a web app and click Open.
-
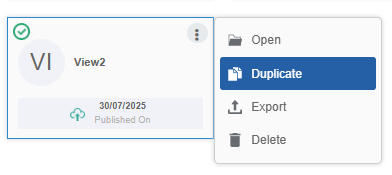
Hover over a View name card, and click the three dots (more actions).
-
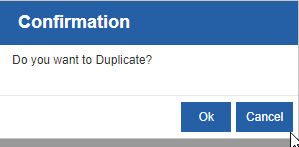
Click Duplicate. A confirmation pop-up appears.
-
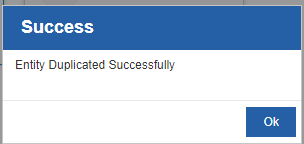
Click Ok for duplicating the view (or click Cancel to cancel the duplicate action). A Success message appears on the successful duplication of the view.
-
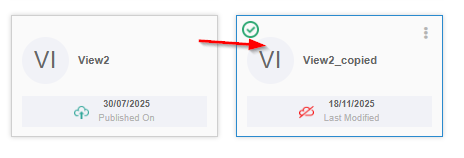
Click Ok. A duplicate copy of the view appears on the view list page with the same name suffixed with “_copied”.
Deleting a View
- Go to Main Menu > App Studio > Create App > Web Apps. The Web App list page appears.
-
Click and select a View.
-
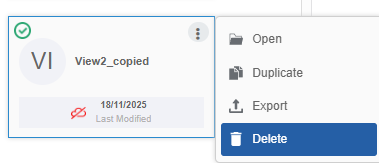
Hover over the view card and click the three dots (More actions). Delete appears.
-
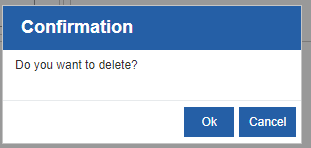
Click Delete. The delete confirmation pop-up appears.
-
Click Ok to delete the view.
Accessing Runtime View Page
Access the view page in the Main Menu under the web app name or in the browser by providing the URL of the published view.
- Go to Main Menu > App Studio > Create App > Web Apps > View.
-
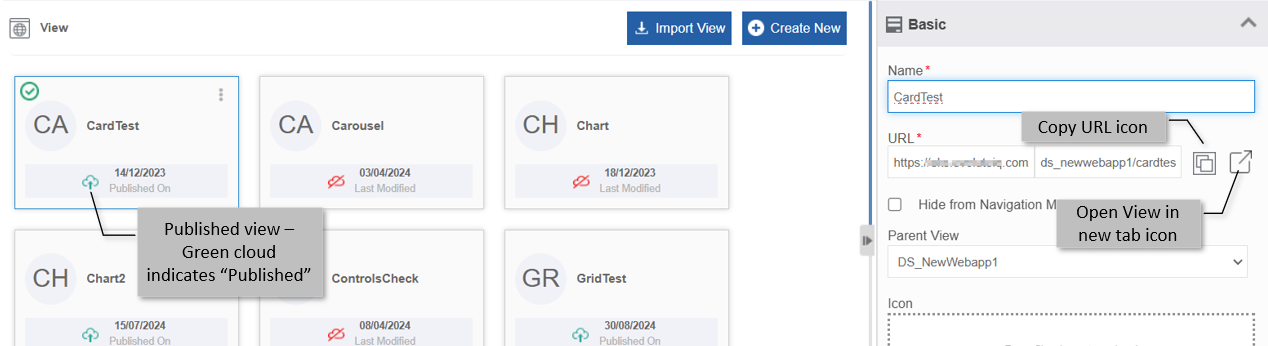
Create a view and publish the view. For the published views, the view card will display a green cloud icon.
-
Click a View name card and click Open. Edit View details appear on the property panel. If the View is published, the URL field appears with a copy icon adjacent to it.
-
Click Copy URL icon beside the URL.
Open your browser and paste the URL that you have copied. Runtime view page appears as per your design and template. -
Click the Box and arrow (Open view in new tab) icon to navigate to the view page in a new tab.