Theme
Themes are the style part of the page. The Theme files allow you to create themes that can be utilized within the organization. Define the themes in the drag-and-drop designer.
There are two types of themes in the platform:
- Internal: Internal themes allow you to design the theme by providing the colors and styles.
- External: External themes are those themes that are created using JS files and uploaded. For Views currently there are Default theme, Light theme, and Light Dark theme. Use any external library files from bootstrap or any other repo and upload the whole structure as external theme. Along with library files, create and use your own CSS and Javascript that overrides any particular scenario as applicable.
Viewing Themes List
- Go to Main Menu > Management > Theme And Template Management.
-
Click the expand arrow of the left side menu to expand the left menu panel and view the categories within.
-
Click Theme. The list of themes available for the organization appears on the center panel.
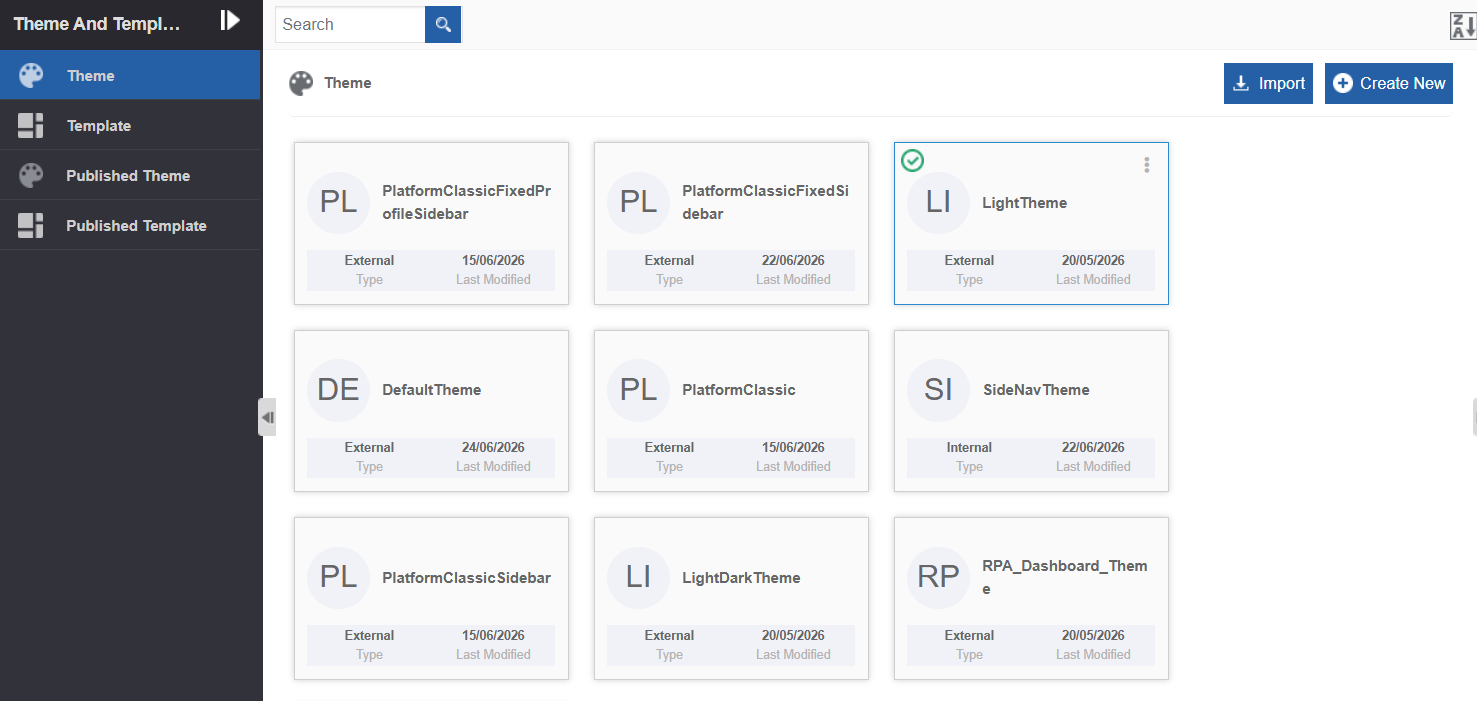
Creating a New Theme
From the designer, the combination of CSS and JS is taken and loaded as the theme.
- Go to Main Menu > Management > Theme And Template Management > Theme. The list of all themes appears.
-
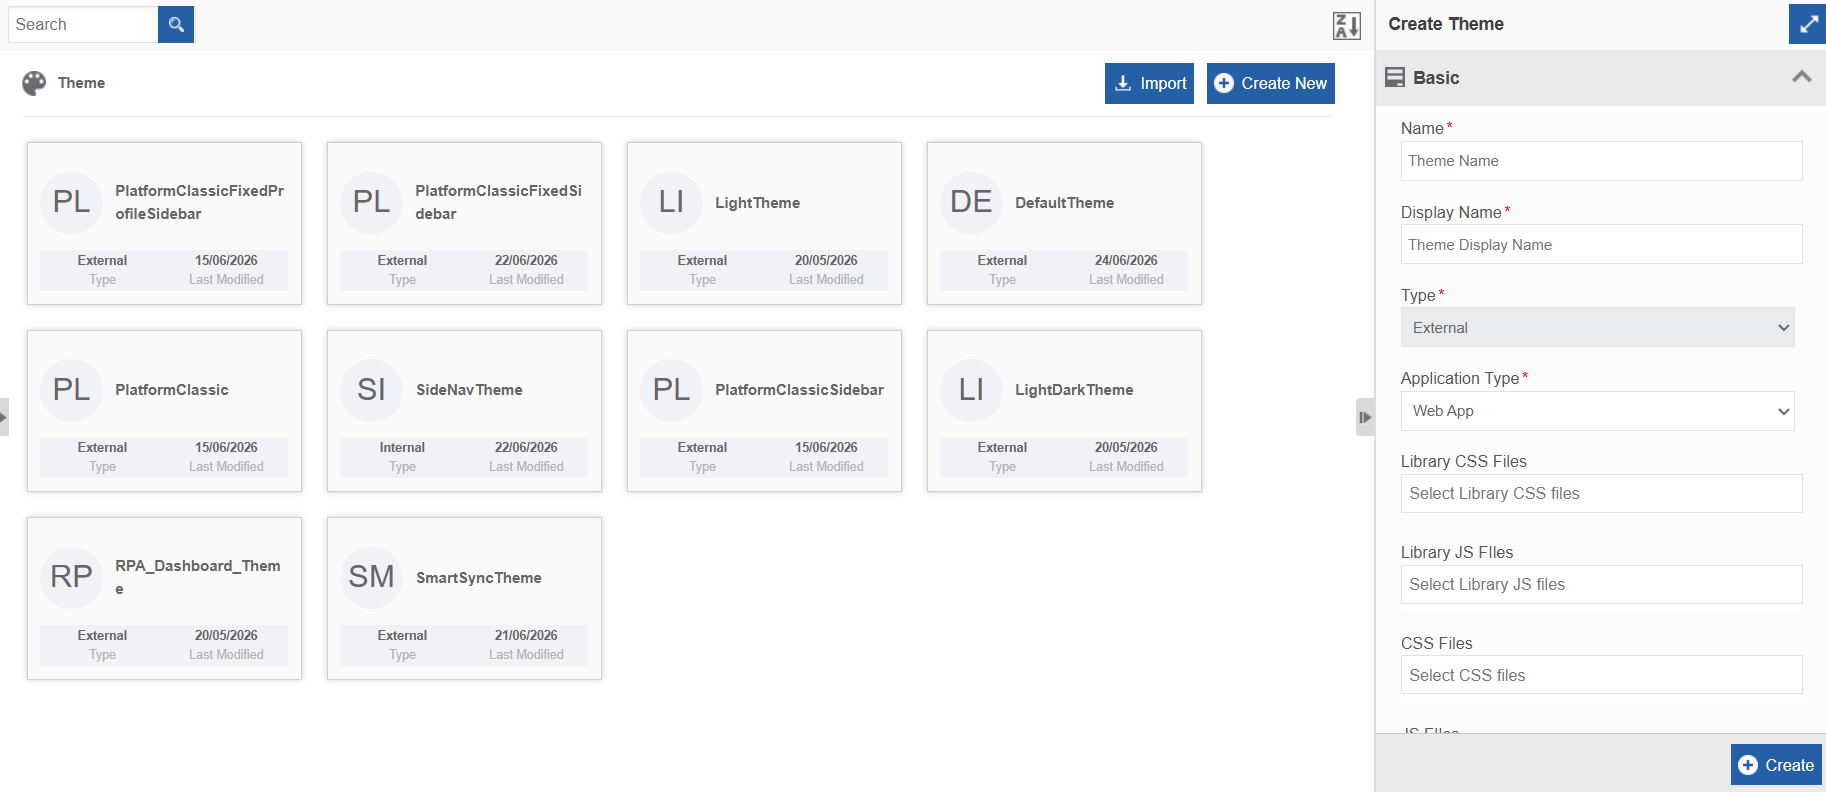
Click Create New (top-right). Create Theme appears on the right panel.
-
Enter details as explained below.
Field Description Name* Enter a name for the Theme. Display Name* Enter a display name for the theme. Type* Select the theme Type.
External : To upload external theme files (library files. E.g., bootstrap files). In the current platfrom version, this is default selection and non editable.
When you choose the type as External, Library CSS Files, Library JS files, CSS Files, and JS files selection fields appear for selecting the external files.
Library CSS and JS files are those theme files that you upload in the Management > Resource Library .
- The order of the files uploaded is important as the content of a file will override the applicable content in the previous files.
Internal : To design a theme using the platform theme builder (Upcoming).Application Type* Select the required application type. 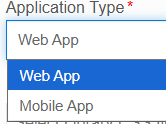
The theme gets applied to the selected module.Library CSS Files Select the required library CSS files.
Type the file name to view the path of the file and select the required files. Select multiple files as per your requirement.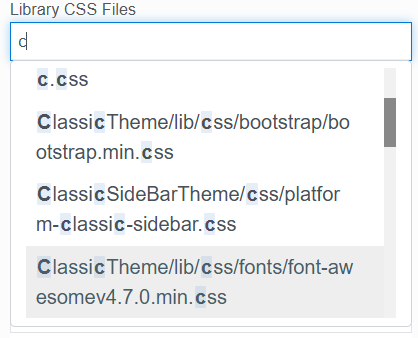
Library JS Files Select the required JS files.
Type the file name to view the path of the file and select the required files. Select multiple files as per your requirement.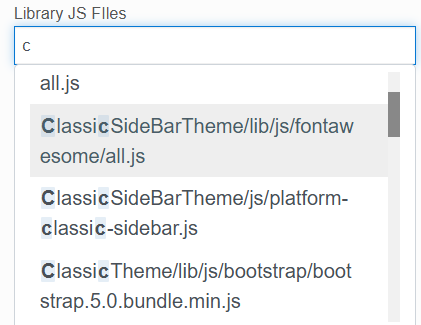
CSS Files Select the required CSS files.
Type the file name to view the path of the file and select the required files. Select multiple files as per your requirement.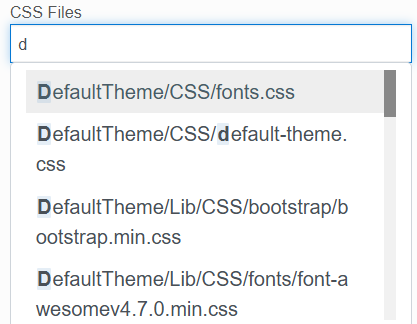
The scenario in this file will override the scenario in the Library CSS File as applicable.JS Files Select the required JS Files.
Type the file name to view the path of the file and select the required files. Select multiple files as per your requirement.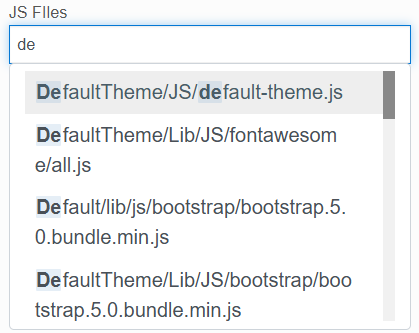
The scenario in this file will override the scenario in the Library JS File as applicable.Icon - Click inside the dotted area below the icon . The Explorer window opens. Select the required icon file from any folder. 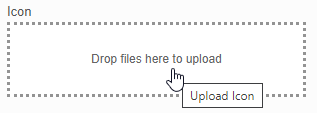
Or
- Drag an icon - from any location/folder - into the marked area.
- Image file formats supported are PNG, JPEG, and JPG.
After uploading the icon, Download and Remove are displayed along with the icon file name (file name of the uploaded image).
- Click Download to download the icon.
- Click Remove to remove the icon
To update a new icon, remove the icon and repeat the steps mentioned above.Description Enter a description of the theme. -
If you select type as external, click Create to create the theme. If you select type as internal, design the theme and then click Create to create the theme.
The theme gets created and it gets listed in the Theme section.
Viewing and Editing Theme
- Go to Main Menu > Management > Theme And Template Management > Theme. The list of all themes appears.
-
Click a Theme name card. The details appear on the Property panel on the right side.
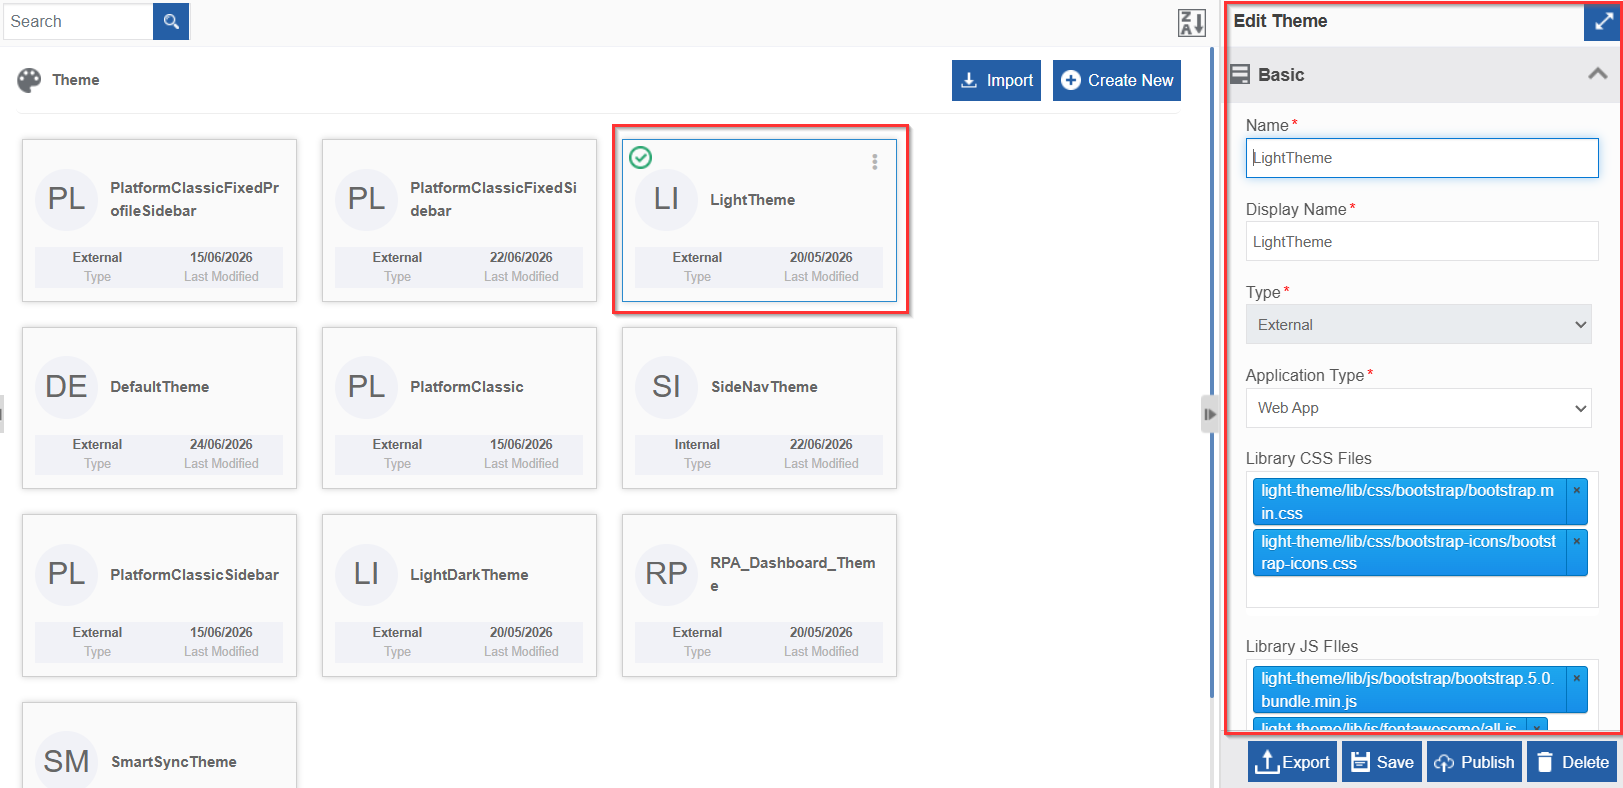
Viewing Theme details
Exporting a Theme
- Go to Main Menu > Management > Theme And Template Management > Theme. The list of all themes appears.
-
Click the Theme name that you want to export. Export appears on the bottom right.
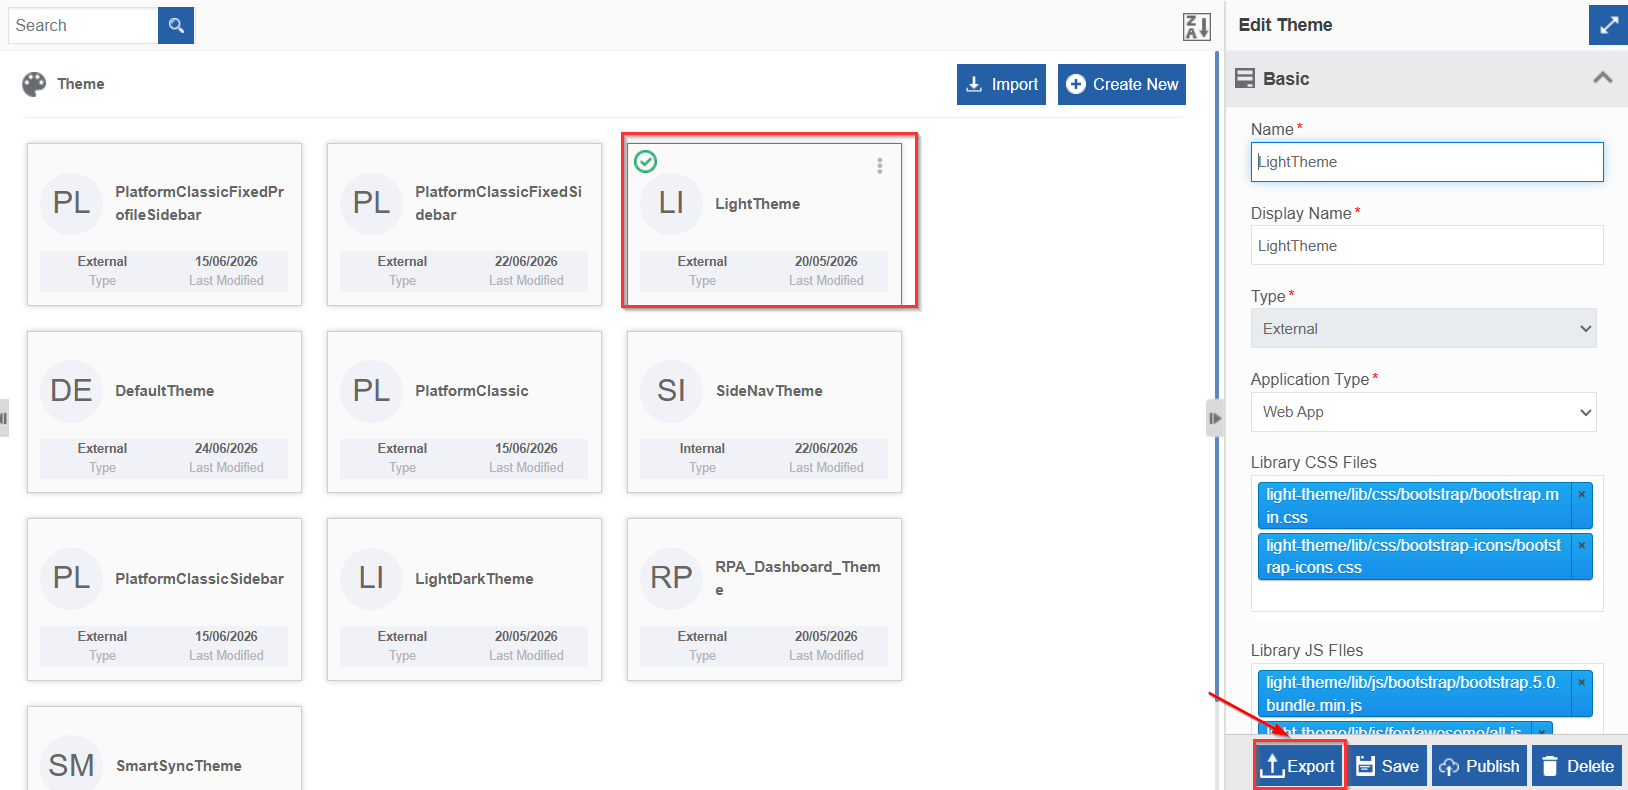
Or hover over the theme name card and click three dots (More Actions) to click Export.
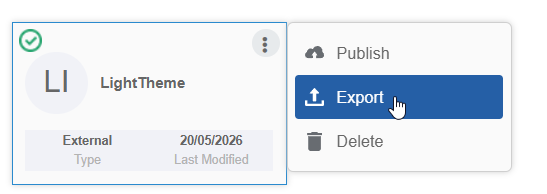
-
Click Export. The theme gets exported to your local system.
Importing a Theme
Import the package into the Themes section.
-
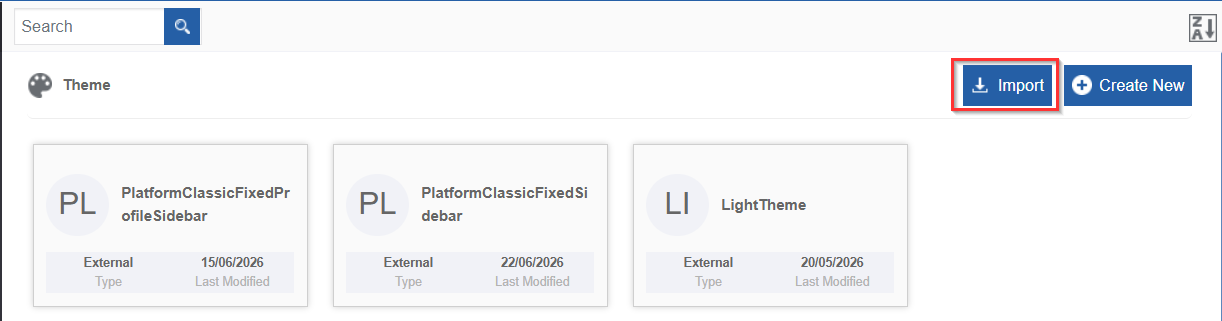
Go to Main Menu > Management > Theme And Template Management > Theme. The list of all Themes in the platform appears.
-
On the upper right click Import.
-
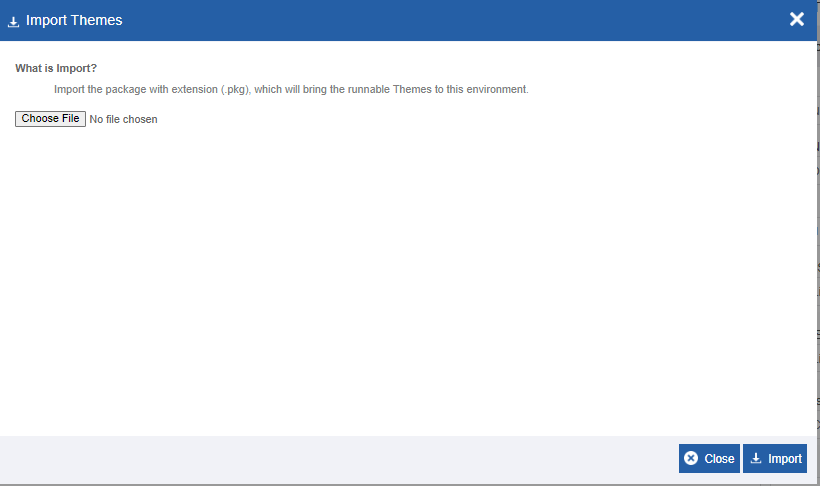
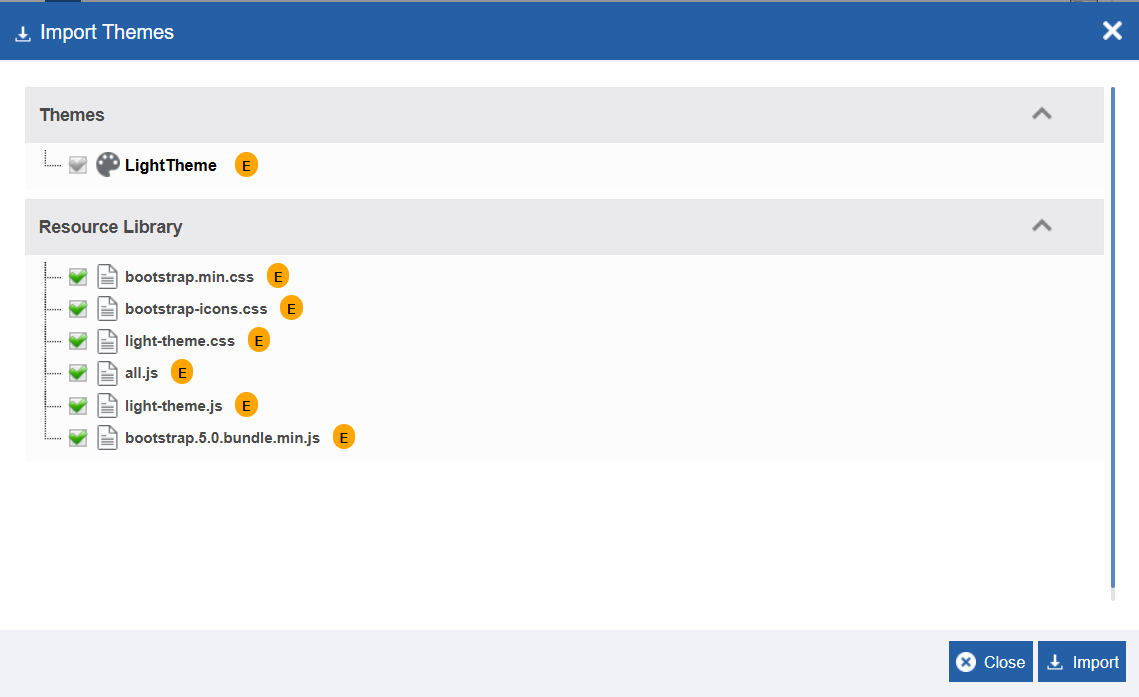
Click Choose File and select the file (in .pkg format) that you want to import. The selected Theme details appear.
-
Click each accordion section (Themes / Resource Library / …) to view the details of all the files that are associated with this theme. It means that when you import a theme all the associated files also get imported to the platform.
- Click Import. A Success message appears on successful import of the file.
- Click Close. The file is imported to the platform.
Publishing the Theme
Publish a theme for utilizing that theme. You cannot edit a theme in the Published Theme section.
- Go to Main Menu > Management > Theme And Template Management > Theme. The list of all themes appears.
-
Click the Theme name that you want to publish. Publish appears on the bottom right.
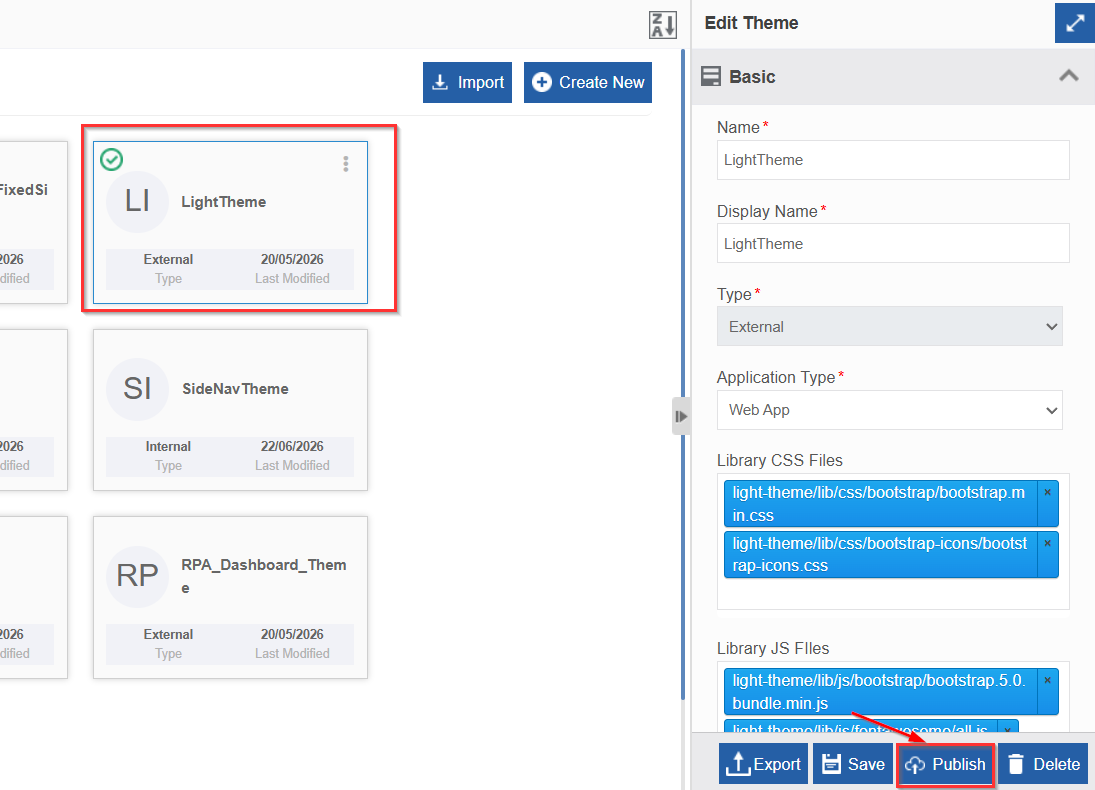
Or hover over the theme name card and click three dots (More Actions) to click Publish.
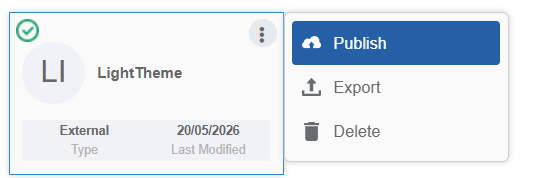
-
Click Publish. The theme gets published. When you publish a theme, the published theme appears on the Theme > Published Theme section with the same name.
Note
If you publish a theme that is already published, it will overwrite the already existing published theme. The Published themes will be available on the platform for utilization.
Deleting Theme
- Go to Main Menu > Management > Theme And Template Management > Theme. The list of all themes appears.
-
Click the Theme name that you want to delete. Delete appears on the bottom right.
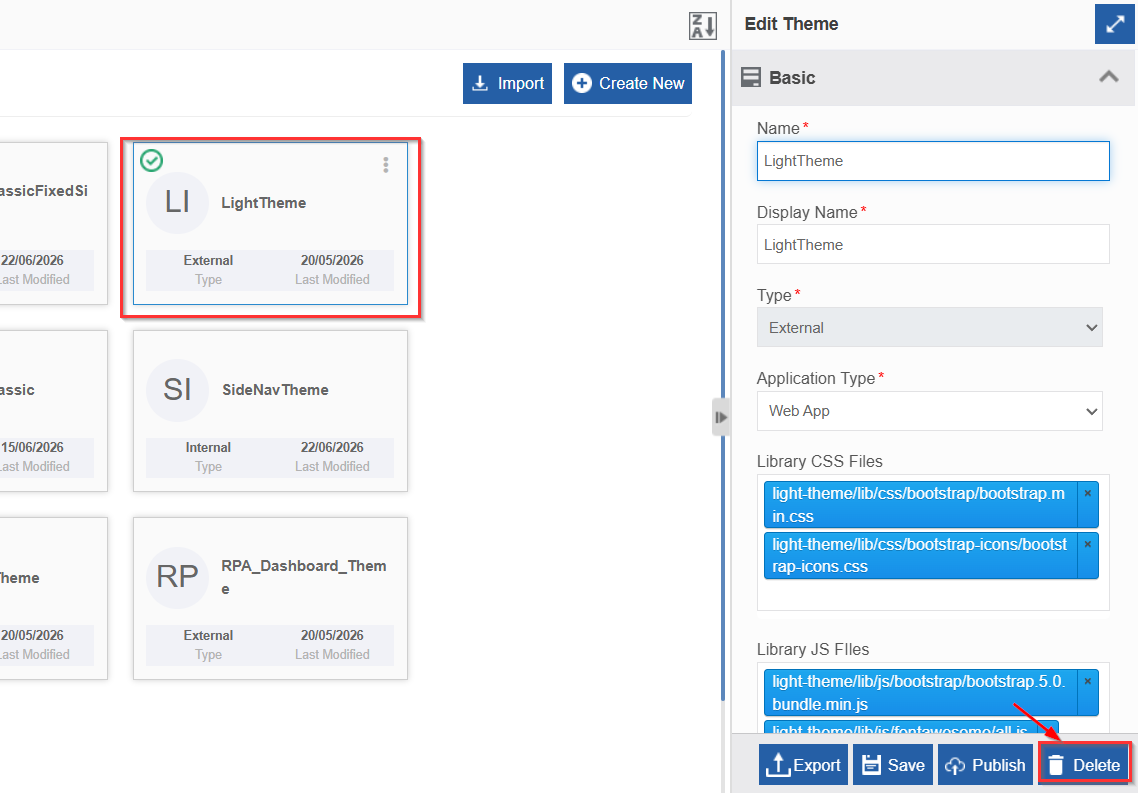
Or hover over the theme name card and click three dots (More Actions) to click Delete.
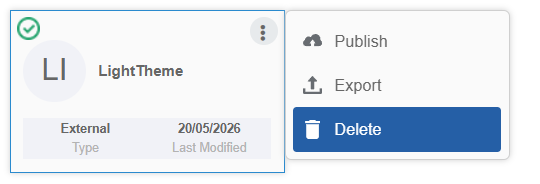
-
Click Delete. The theme gets deleted.
Viewing Published Theme List
- Go to Main Menu > Management > Theme And Template Management > Published Theme. The list of all published themes appears.
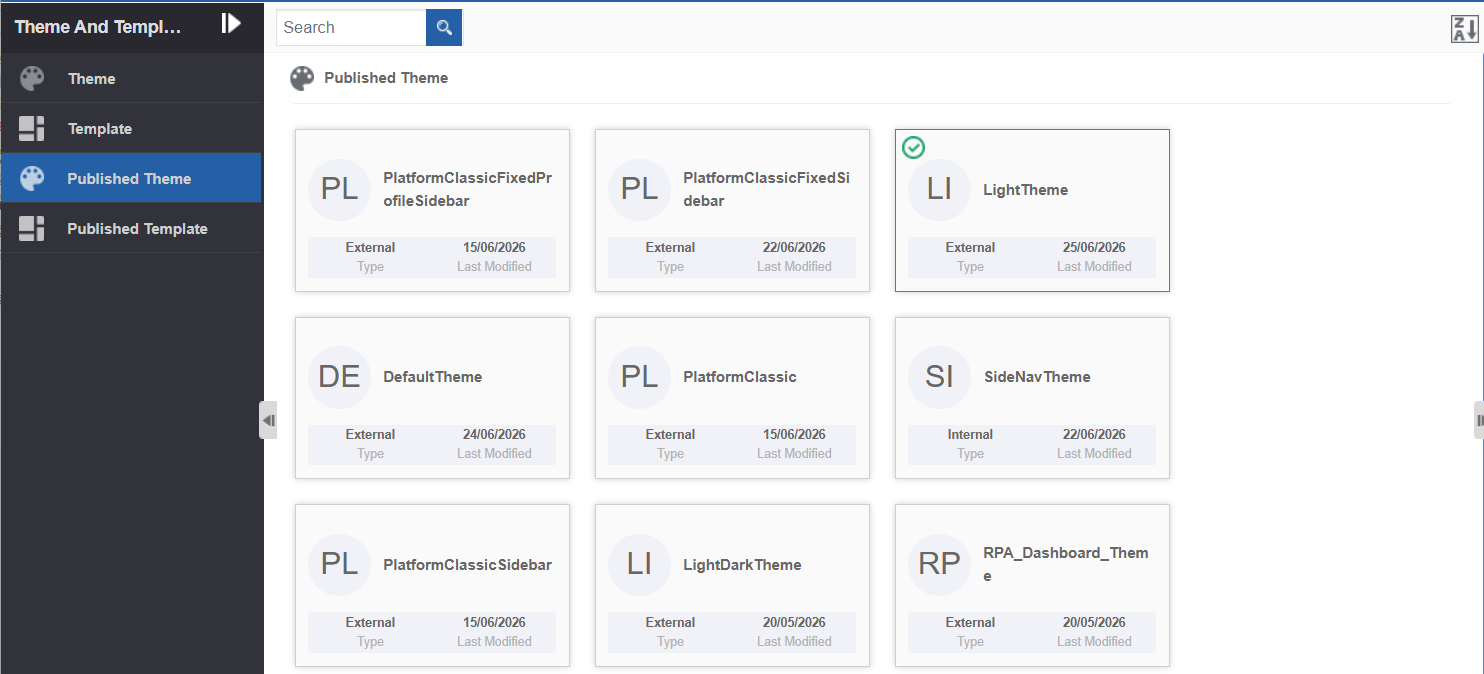
Viewing Details of Published Theme
- Go to Main Menu > Management > Theme And Template Management > Published Theme. The list of all published themes appears.
-
Click a theme name. The details of the published theme appear on the About Published Theme on the right side.
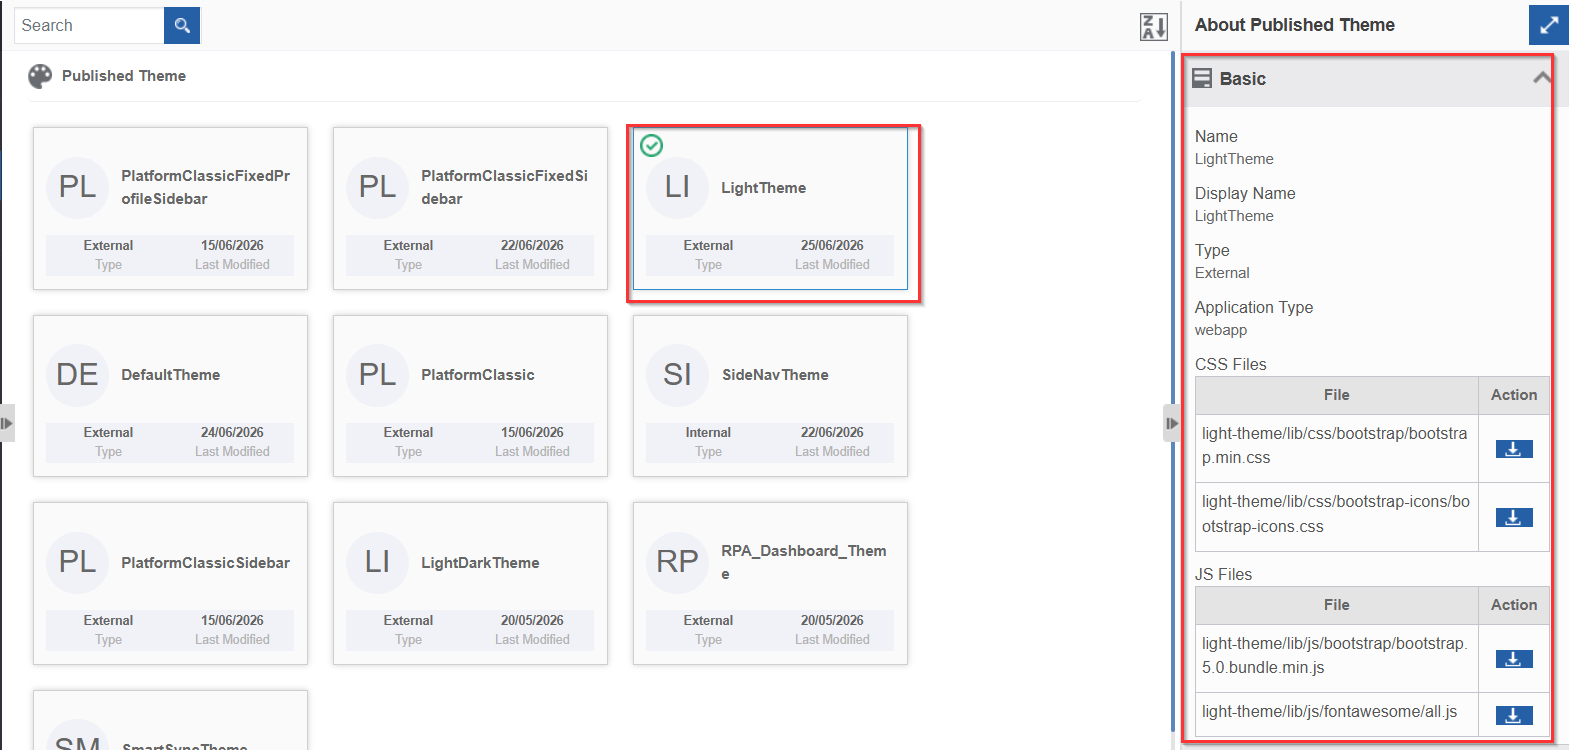
Downloading Published Theme CSS / JS Files
Download the CSS and JS files that are uploaded for the theme.
- Go to Main Menu > Management > Theme And Template Management > Published Theme. A list of all published themes appears.
-
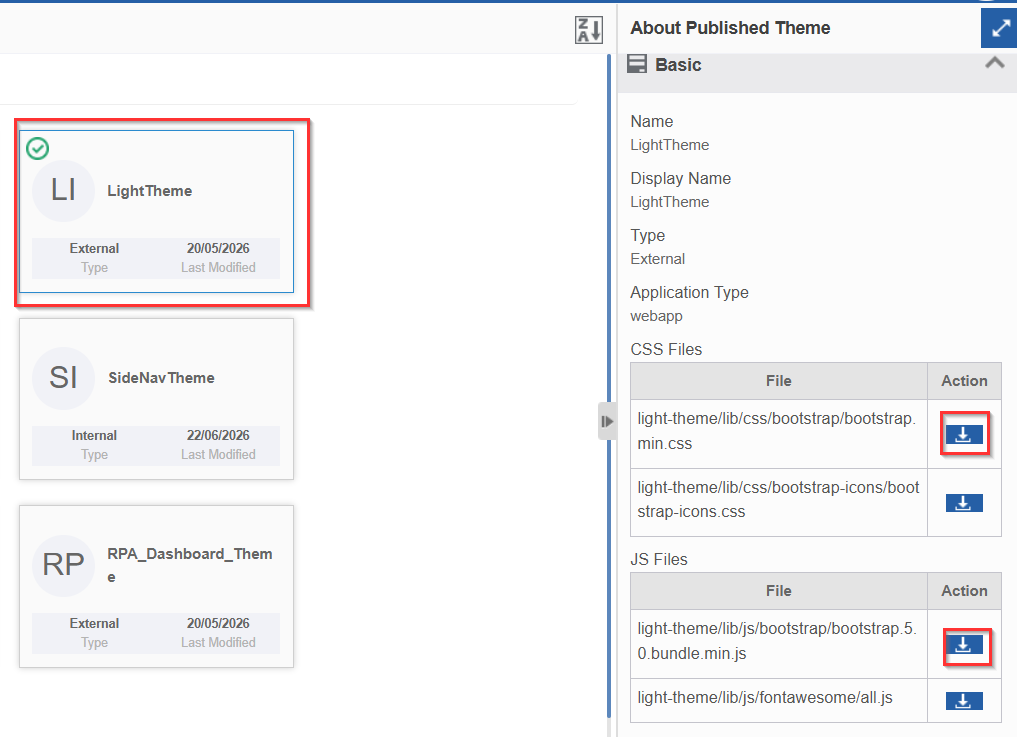
Click a theme name. The details of the published theme appear on the About Published Theme on the right side. The list of all CSS files and JS files selected will appear along with a download icon adjacent to it.
-
Click the download icon of the file that you need to download. The file gets exported to your local system.
Utilizing Themes in Web App Views
Themes can be utilized in Web App Views. You need to publish the themes for accessing it in the web apps.
-
Go to Main Menu > App Studio > Create App > Web Apps – Create Web App.
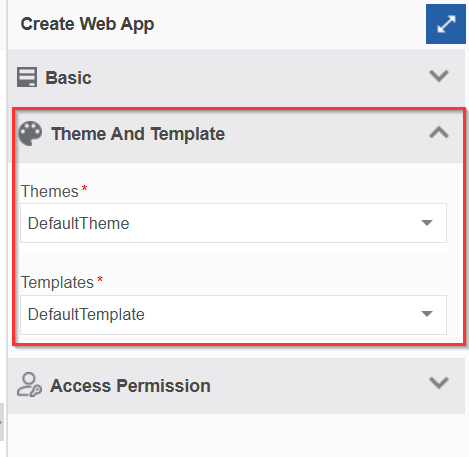
In the Create Web App configurations, the Theme And Template section lists all the themes and templates created in the Management > Theme And Template Management > Published Theme.
-
Select the required theme for creating the web app. The selected theme gets applied to the view.