Create a Data Flow
Data flow is a workflow designed using multiple dataflow activities to achieve or automate a particular requirement. The dataflow takes the data (Regular data or Big data) from a datamodel.
Using dataflow activities, you can define action that can be performed on the input data model (single or multiple set of records) Operations like Extract, Transform, and Load (ETL) can be performed by the user in the data flow along with processing of data.
Dataflow is created within an application. An application consists of single or multiple flows. You can integrate Data flow with process flow or an event flow. A Data flow created can be triggered using a process flow or data flow.
Prerequisites for the Data Flow
Create a Data Flow
-
Go to Main Menu > App Studio > Applications > open [Application_Name] > Data Flow. The dataflow list page appears.
If no flows are defined, a blank data flow page appears else it displays the list of all exisitng data flows in the application.
-
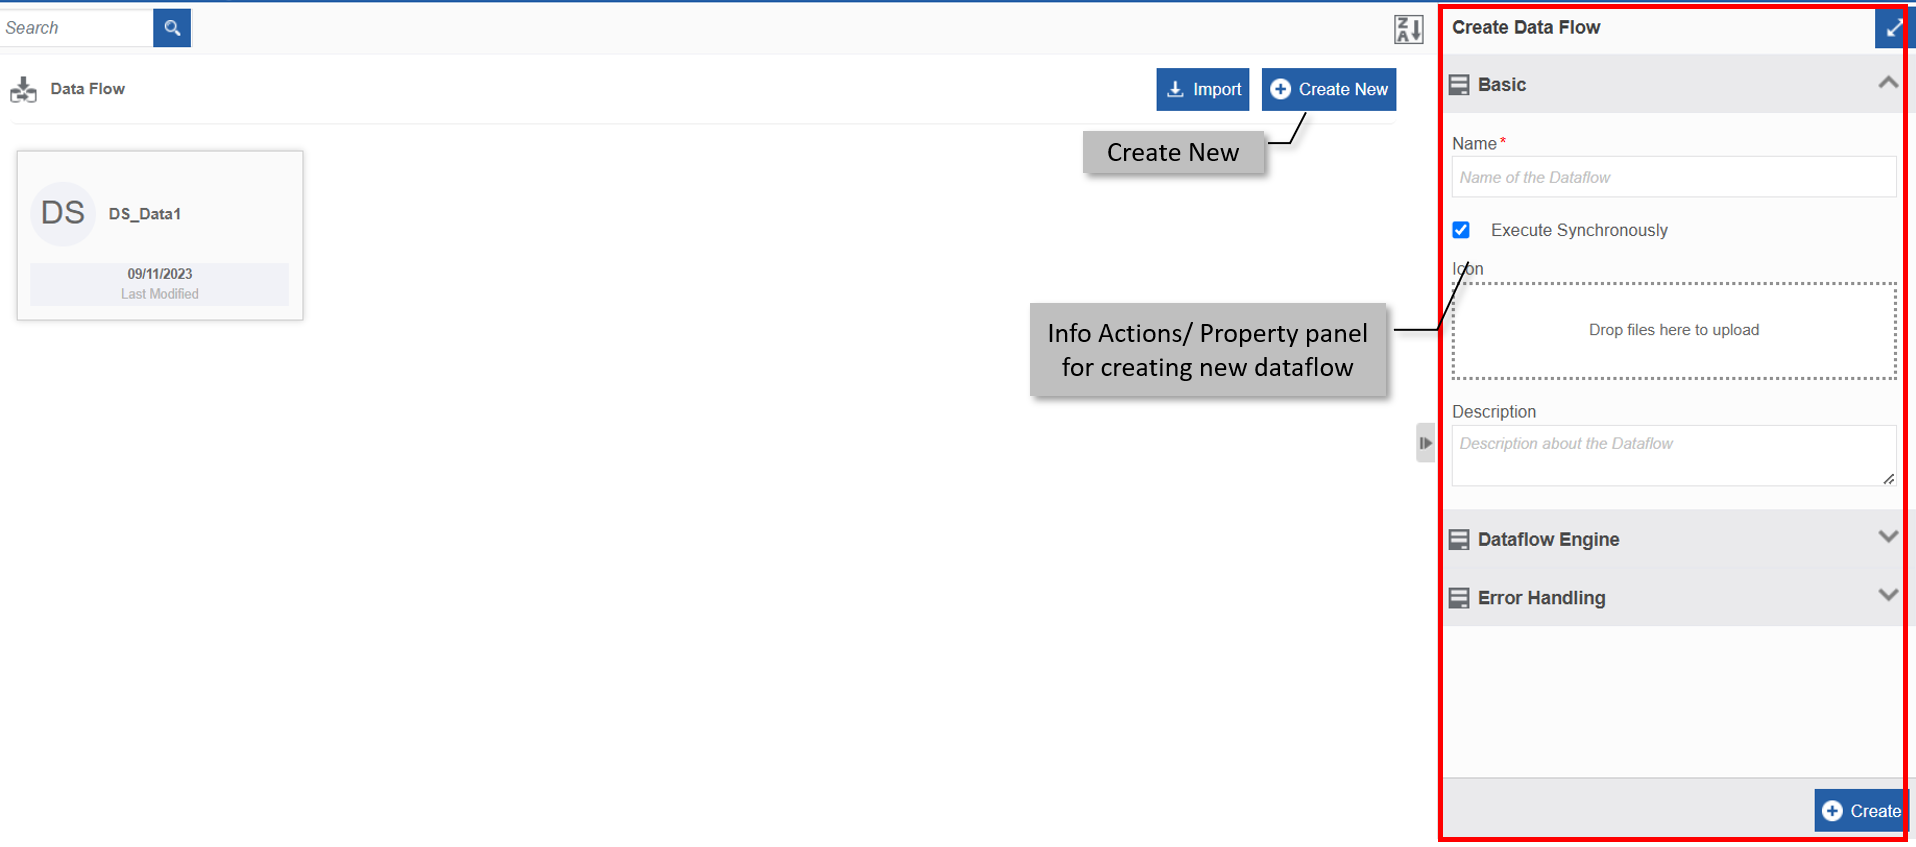
Click Create New on the upper-right of the data flow page. Create Data flow panel appears on the right side.
-
Enter the Basic and Data Flow Engine details in the Create Data flow panel as explained below:
Field Description Basic Name* Type the name of the Data flow.
Data type: Alphanumeric (including space)
Character limit: 5 to 50 charactersExecute Synchronously If you want the data flow to execute synchronously, check the checkbox. Icon - Click inside the dotted area below the icon . The Explorer window opens. Select the required icon file from any folder. 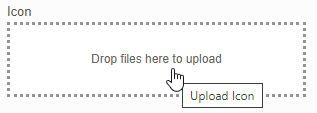
Or
- Drag an icon - from any location/folder - into the marked area.
- Image file formats supported are PNG, JPEG, and JPG.
After uploading the icon, Download and Remove appear along with the icon file name (file name of the uploaded image).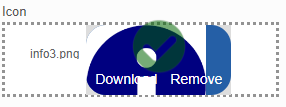
- Click Download to download the icon.
- Click Remove to remove the icon
To update a new icon, remove the icon and repeat the steps mentioned above.Description Describe the data flow.
Data type: Alphanumeric, symbols, and special characters
Character limit: 1000 characters (space included)Dataflow Engine Data Size Select the data size from the drop-down list. The selected engine is used for processing the data. 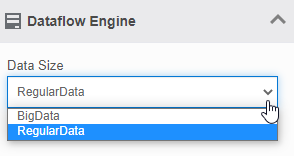
- Regular Data : Select regular data, if your data is small.
- Big Data : Select big data, if you need to execute data flow with a big data file.
Based on the need and what kind of work flow you are defining; a regular data can be considered a big data or a big data can be considered to be a regular data.Run On* Select where you need to run the data flow.
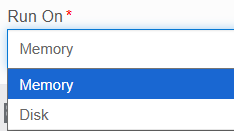
- Memory: Runs the data in the device memory. Data is loaded into the RAM for processing. Use this option for Real-time analytics, high-speed trading, or iterative machine learning as it is more fast processing.
- Disk: Runs the data on the disk (SSD or HDD). Data stays on the hard drive, and only small chunks are pulled into memory at a time. Use this option for massively large datasets (Petabytes) that cannot fit into RAM, or "Cold" data that doesn't need to be accessed quickly.
The processing speed is slow.Error Handling Trigger on Preview Select the checkbox to trigger the error work flow during the preview.
If unchecked, the error workflow will trigger only at the runtime.Error Process Flow Select the process flow for handling errors from the list and configure the required parameters.
Refer to Dataflow Error Handling. -
At the bottom of the Create Data flow panel, click Create after entering the details. A data flow is created and the design canvas appears where you can define the data flow using the design elements.
-
Design the data flow using the activities and configure the activities.
Mapping data model
When you configure an activity (other than Reader activity), you must map an input data model to it. Input data model can be the output data model of any of the preceding activities.
-
Click Save. A new data flow process is created.