Process Flow Views
Process Flow Views
Process flow form views are created when you want to create a website page that is part of a process flow and you need a sequential flow of events. Views come under the category Forms in the Process flow.
You can design Views using the components and controls available on theview designer. Components are groups of different types of controls that are placed together with specific features.
Process Flow Views are designed in the App Studio > Applications > Process Flows > Form (Form of type Views). These form views are accessed as part of user tasks or activities (Task/Accept Reject) in the process flow. It is mandatory to have a submit button for the form views (either system submit or custom submit). The views created appear on the main menu of the platform as a page.
Creating Process Flow Form Views
-
Go to Main Menu > App Studio.
-
Click Applications and double-click the application name to open that application.
-
Click Process Flow and then double-click a flow name to open the flow. Forms apply only to the process flow.
-
Click Form. The form list appears.
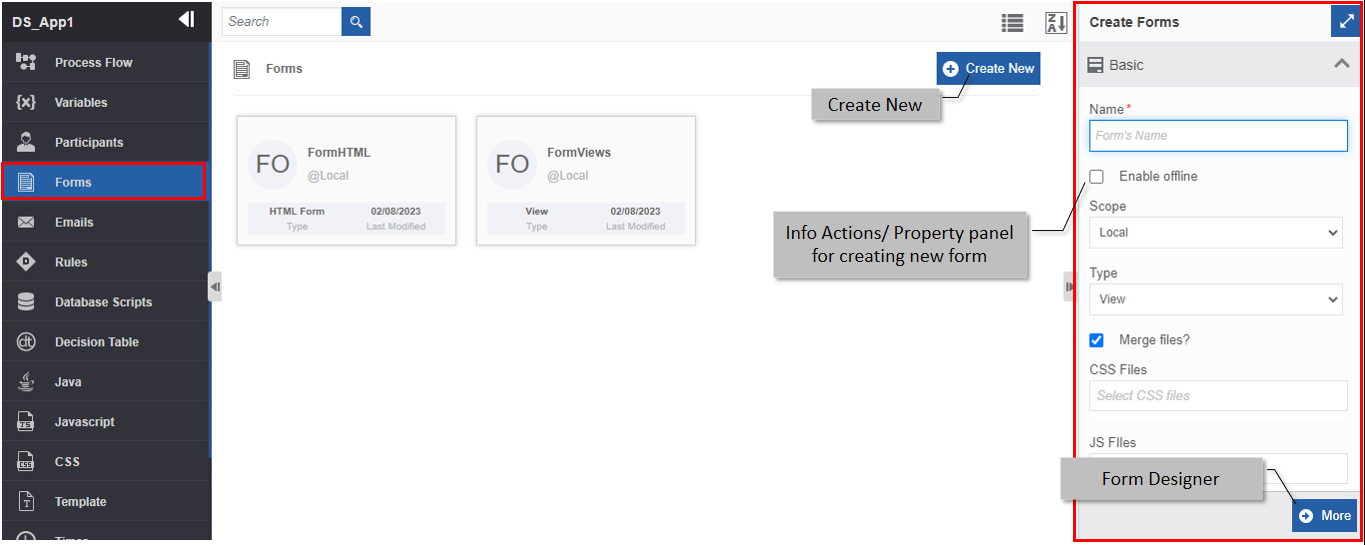
Figure 1: Creating a new form view -
Click Create New.
-
Enter the Basic details in the Create Form panel as explained in the following table.
Field Description Name* Enter the name of the form.
Character limit: 50.
Data type: Alphanumeric and symbols. Whitespace is not allowed.Enable Offline Select the checkbox for. Scope The scope of an entity is always local as the entities are created at the flow level. Type Select the type of the form. For creating Form of type View, select View.
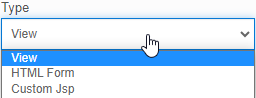
Merge Files Select Merge Files if you want to merge the selected files.
All the CSS files will be merged into a single and all the JS files will be merged into a single file.
This reduces the effort of loading files one after the other, and hence single file loading increases performance.CSS File Select the required CSS file. JS File Select the required JS file. Scope Identifier* Enter the scope identifier name.
Generally, a Form name is considered as the scope identifier with which you can identify a particular form.
This is used when you have to call this form as an instance form during the runtime in another form.Icon - Click inside the dotted area below the icon. The Explorer window opens.
- Select the required icon file from any folder.
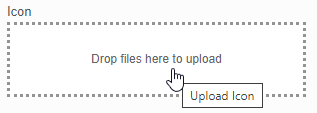
Or
Drag an icon from any location/folder into the marked area.
- Image file formats supported are PNG, JPEG, and JPG.
After uploading:
- Download: Click download icon to download the icon.
- Remove: Click the remove icon to remove the icon.
To update a new icon, remove the icon and repeat the steps above.Description Enter a description for the form. -
Click More. The Form configuration details are displayed.
If you have selected the form type as View, a View Form designer appears. The view is the web view form design.
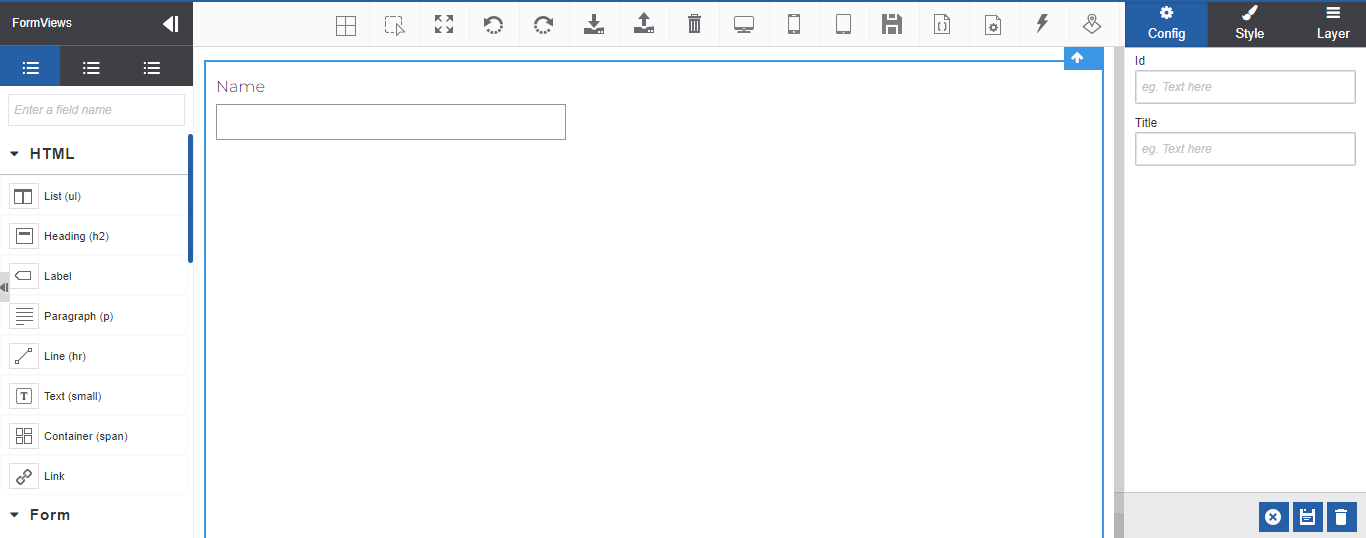
Figure 2: View designer- Design the View using the controls as needed.
Refer to control-specific documents for details on designing Form Views using the controls.
- Design the View using the controls as needed.
-
Click Create. The form with the details provided is created.